How to Refinish Your Wood Exterior Patio Furniture
Your home and the things in it represent a huge investment. In-fact, for most of us, it is the single largest investment we will ever make. LetsFixitUp.com believes in doing all that we can to protect our investment, in this case, that means protecting our exterior wood furnishings. Whether you have built the furniture and furnishings yourself or purchased them, it is critical to evaluate each year whether you should do maintenance on them.
Determining The Condition of Your Wood Furnishings
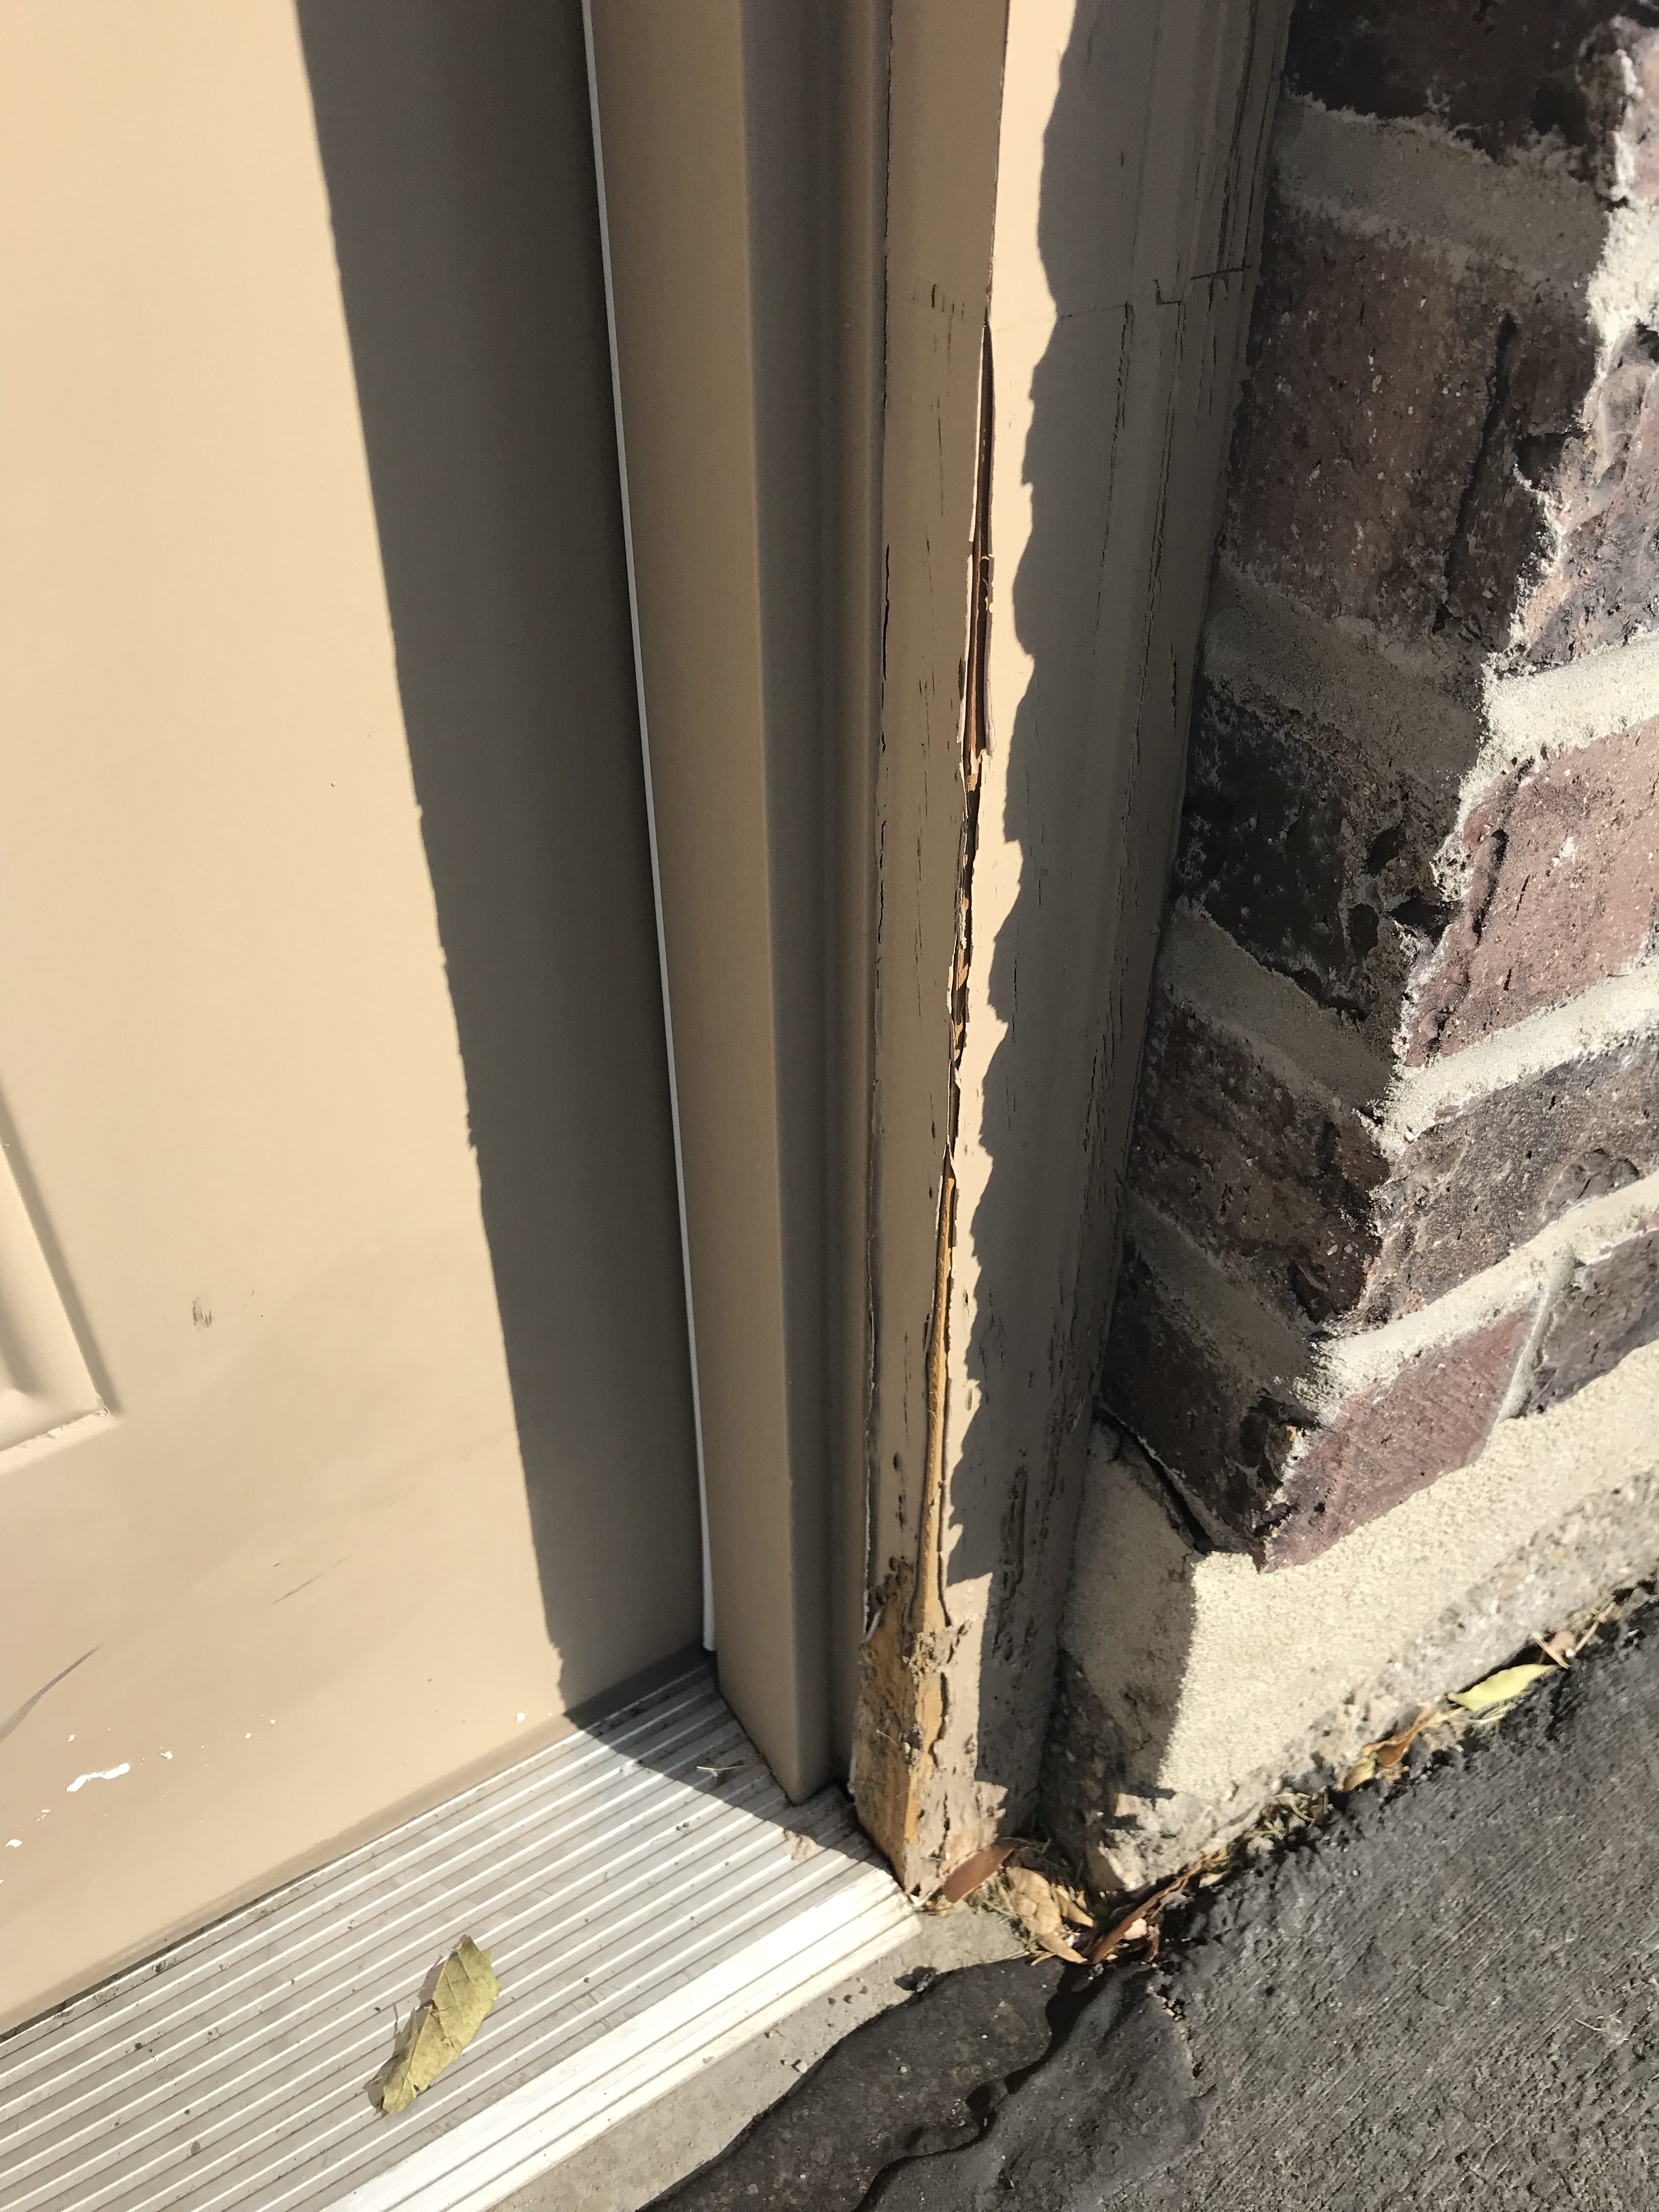
It is generally quite obvious when your exterior wood furnishing and furniture need to be refinished. You can easily see that the luster is gone from the finish and the sealer has faded and broken down. The wood shows obvious signs of wear and the surfaces can become rough and splintered. The last thing we want is to sit on the bench or scoot into the table and have a huge splinter jam into our leg, butt or arm!
Sanding the Wood with an Orbital or Palm Sander
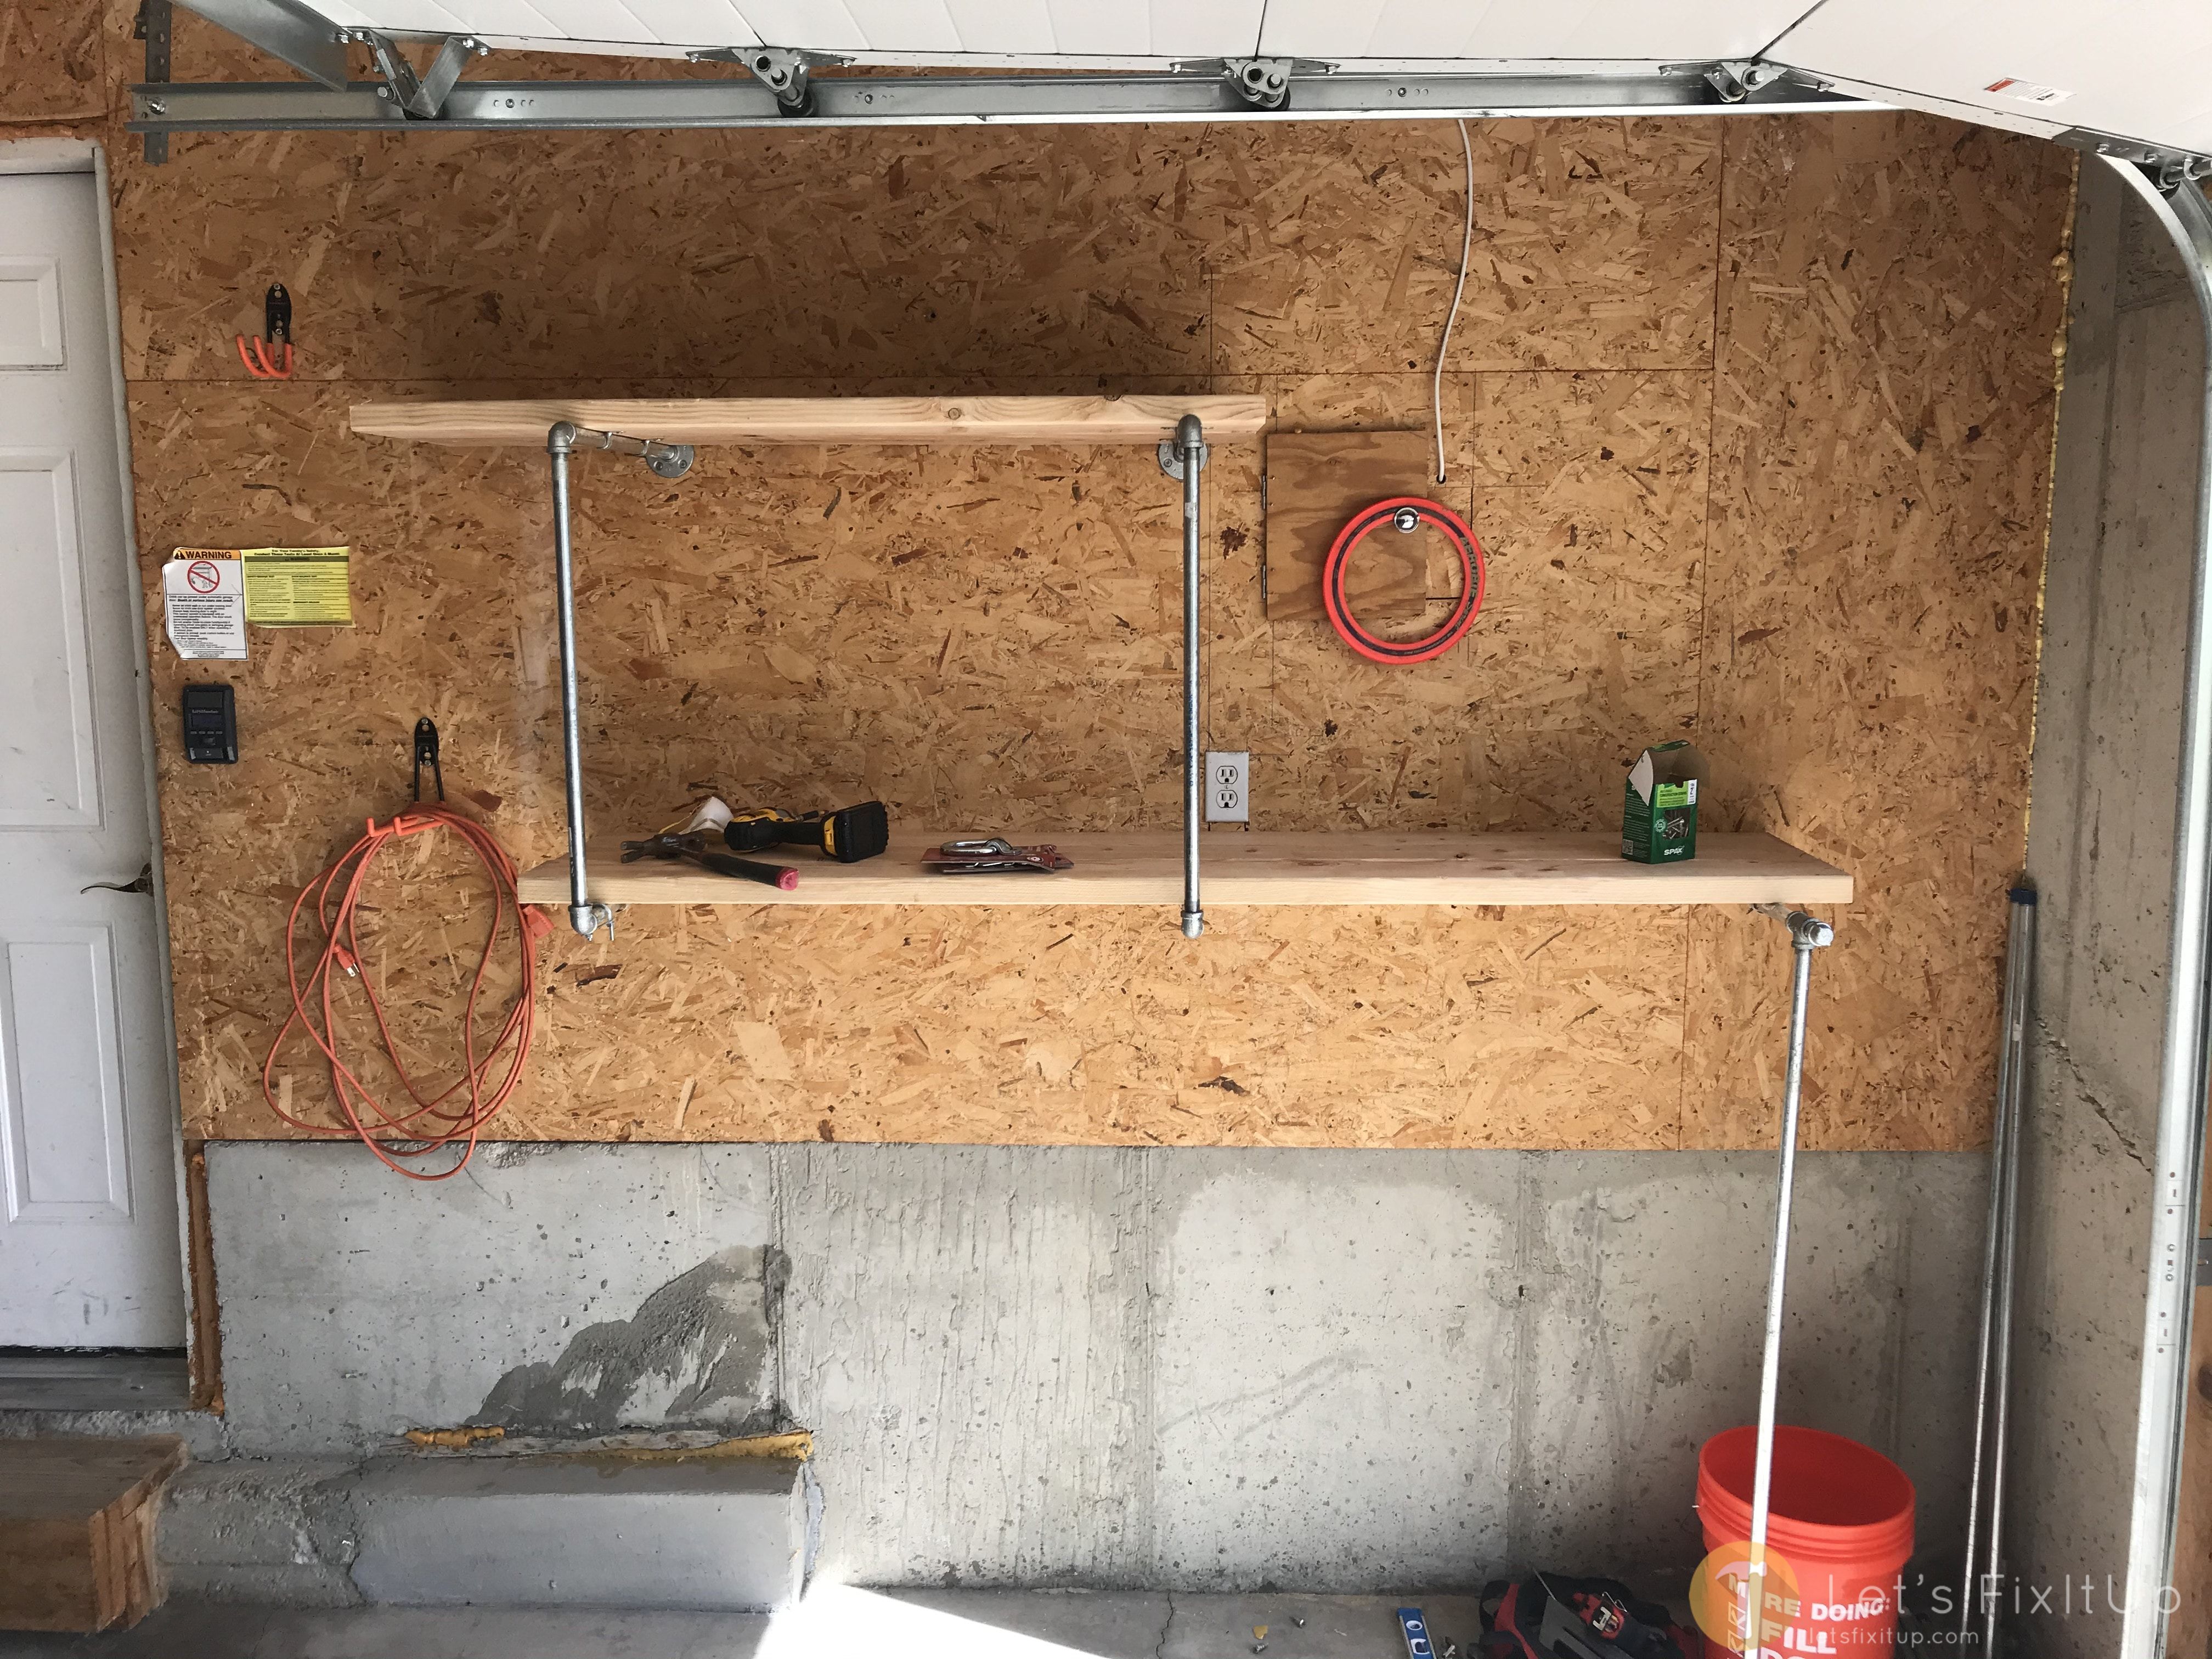
As I mentioned in the caption, these benches were built over basement window wells, it is very important to note that there is a ladder inside the window well and I built them so that the benches could be easily toppled, in addition, even a fairly large person could easily crawl under them. It is critical to maintain the ability to escape through these windows in the event of an emergency.
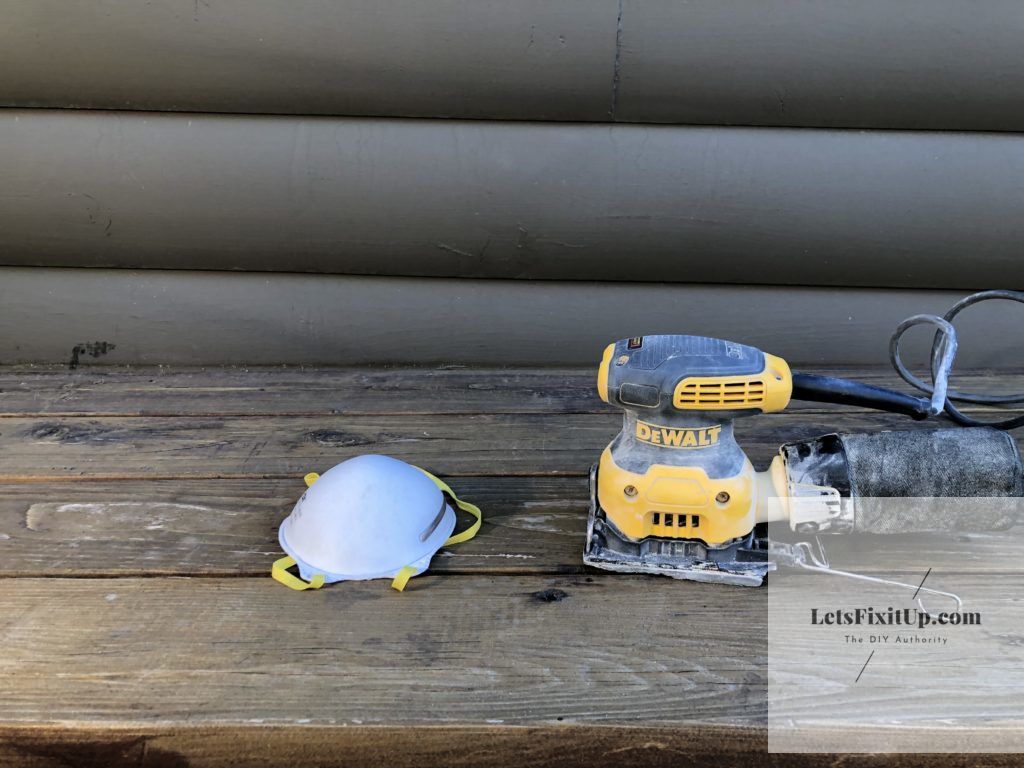
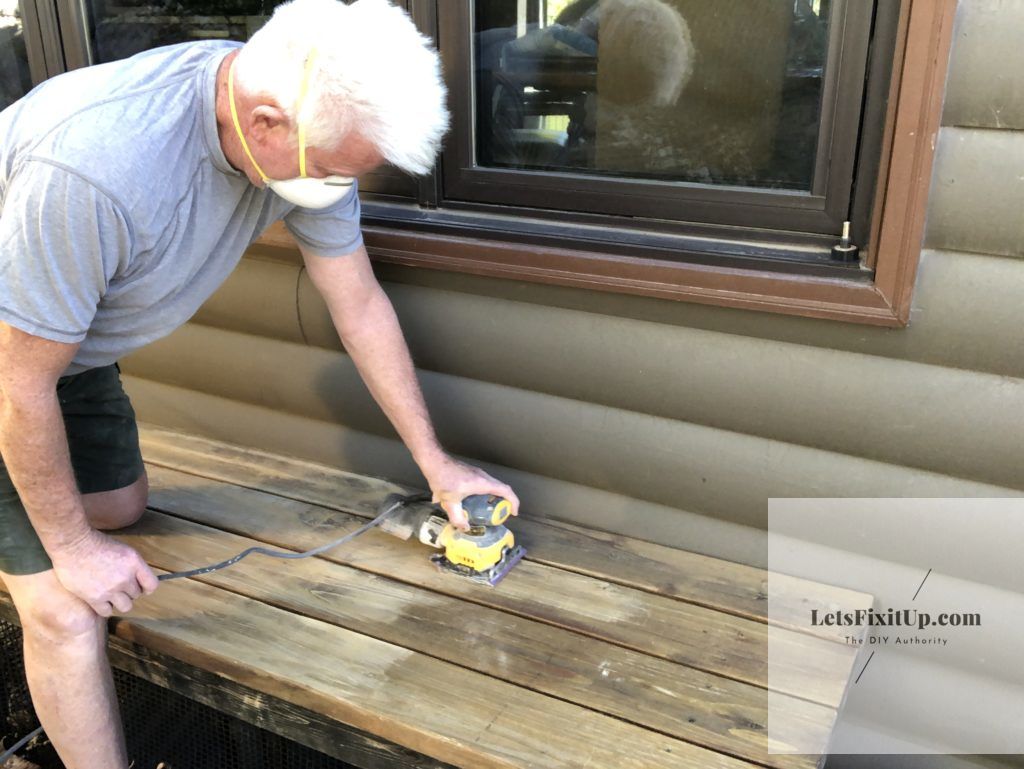
Please, please, please wear a good quality No products found. The wood particles and old sealer residue are very unhealthy to breathe. Let the sander do the heavy lifting, all you need to do is guide it wear you want it to go. In the above photo I am using a DeWalt Palm Sander with 3M 120 grit sandpaper.
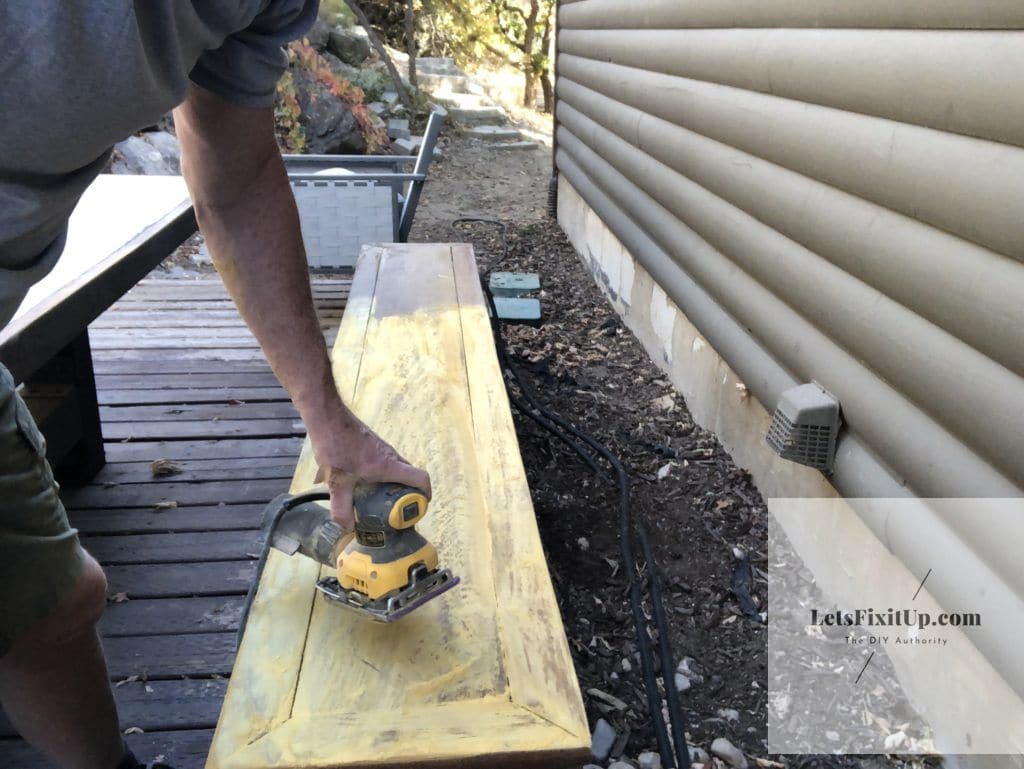
This exotic hardwood bench that I made 8 years ago needs refinishing once every other year. Letting the sander do its job makes the project quite easy. The yellow residue is not the wood dust, rather it is the residue from the sealer that I applied two years prior. Continue sanding until all splinters ( if present), rough areas and sealer is “roughed up” and smooth. Using 3M 120 grit sandpaper for these exterior finishes is sufficient to accomplishment this project. Purchase the sandpaper in full sheets, then quarter them to fit the sander, this will save significant money.
No products found.
Removing the Residue
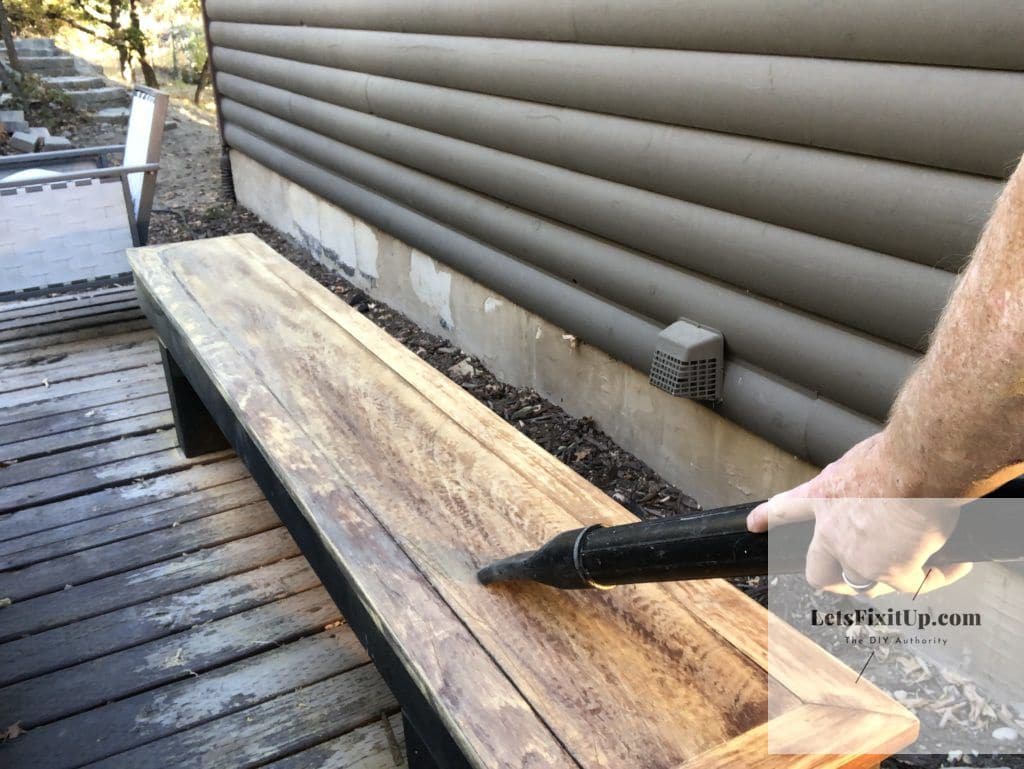
There was enough residue dust to warrant first brushing it off with a broom. I then used a Wet/Dry Shop-Vac to carefully vacuum all wood surfaces. Be very careful when doing this because the black plastic nozzle can leave black marks if you apply to much pressure. Every home needs a good quality Wet/Dry Shop-Vac, this is just one of many, many uses for one. Please check out our Wet/Dry Vacuum review by clicking here Wet/Dry Shop Vac Review
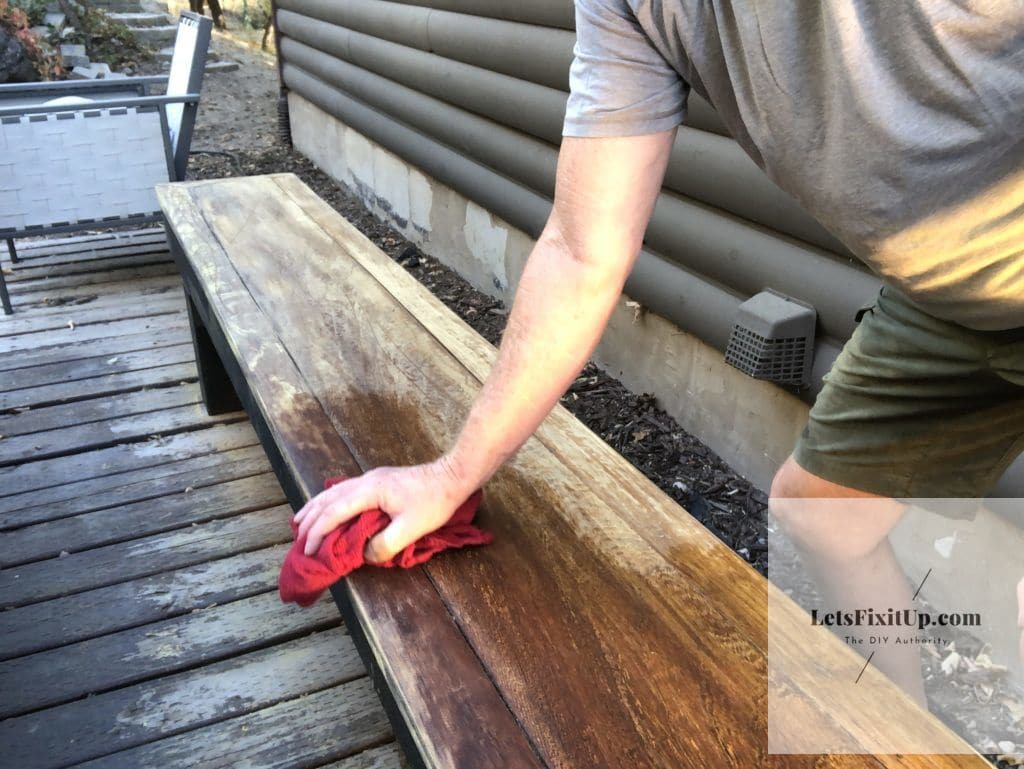
For a nice smooth finish it is critical to remove as much residue, grit and debris as possible. With a damp cloth, wipe over the entirety of the wood surfaces. This will dry quickly, temperature depended of course, and then you can move on to the sealing process. Rinse out the cloth frequently for the best results. You can also use a “tack cloth” if you would like. A take cloth is a sticky fabric that is sold to remove the finest of particles just prior to painting, staining or the application of any sealers and finishes.
Sealer Application
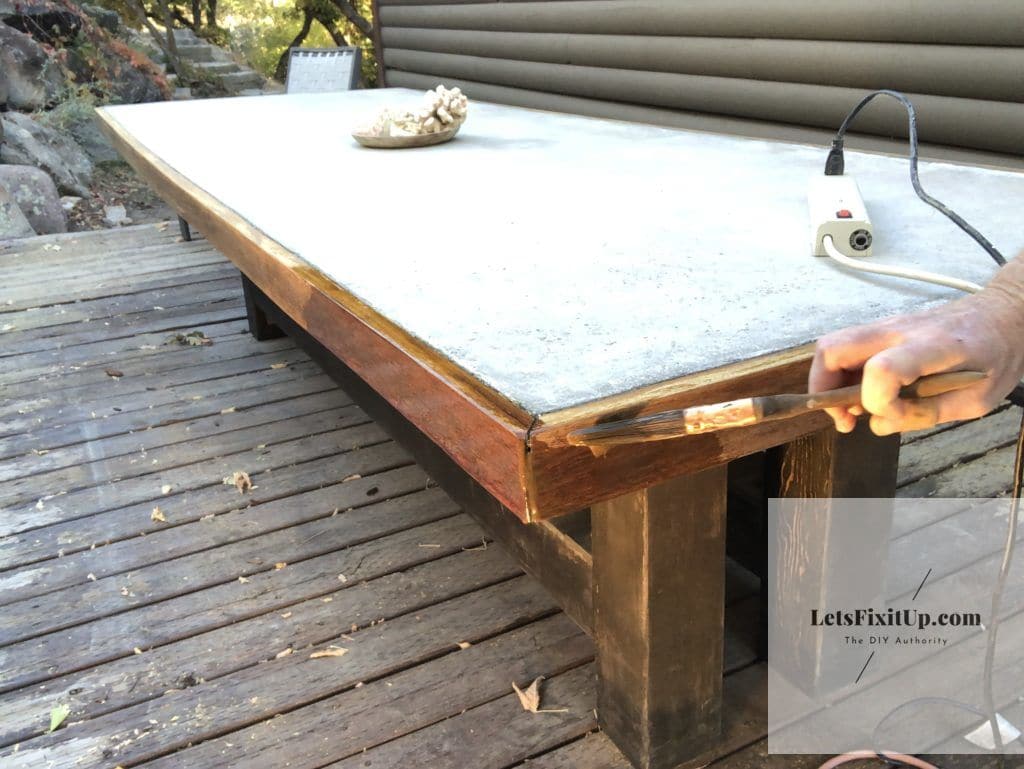
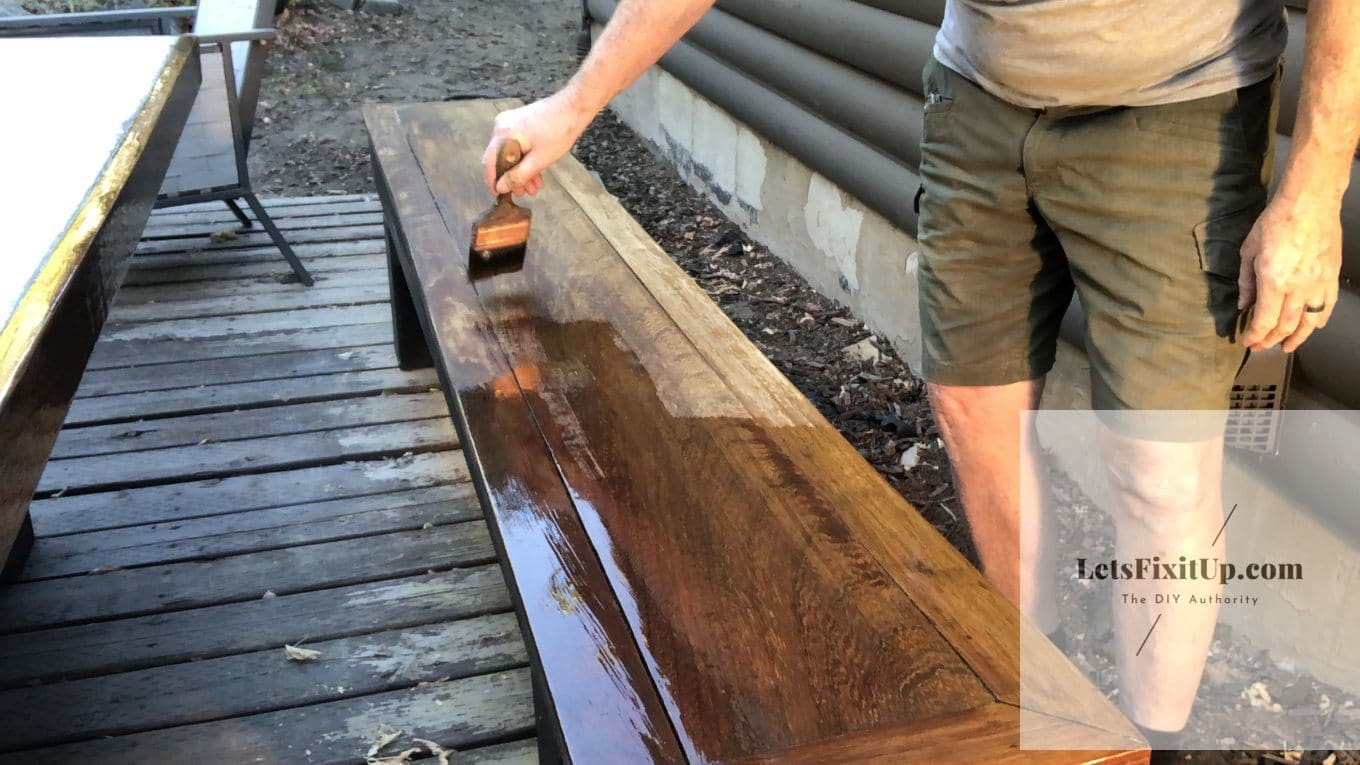
As you begin to apply the sealer do not dip your paint brush into the can of sealer fully, rather, dip it in only about half way up the bristles of the brush. Once you have dipped it in this way wipe off one side of the brush only leaving the product fully on the other side of the brush. As you begin applying the brush to the wood use long smooth brush strokes, do not over brush, however, insure that all areas are adequately covered and that you do not leave to much product in any one area, in other words, avoid clumping. Broad, long smooth strokes will insure the best possible look.
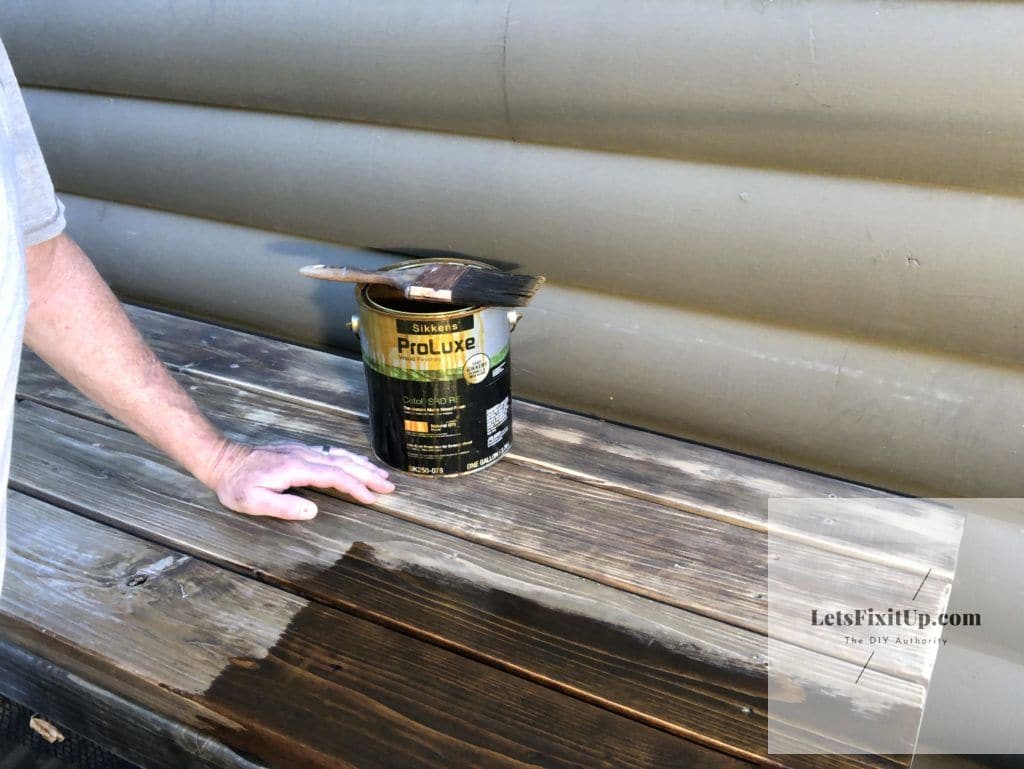
Sikkens brand sealer is a well know product that has received rave reviews. I personally have used this product for many, many years with great success and satisfaction, I highly recommend it. It is easy to use, it brings out the luster in the wood and it lasts, protecting the wood very well in harsh weather conditions. If you tend to be sloppy, make sure you use a drop cloth or ground cover because once it drips onto other surfaces it is almost impossible to get out. When you’re preparing to apply the sealer make sure you check the weather forecast; you will want to be sure that there will be no wind or rain/snow for at least 24 hours. These oil based products take some time to dry, it would be a mess, and a shame if wind blew dust and grit onto your wet wood or if it rained and got wet, remember, oil and water do not mix well.
No products found.
Finished Product
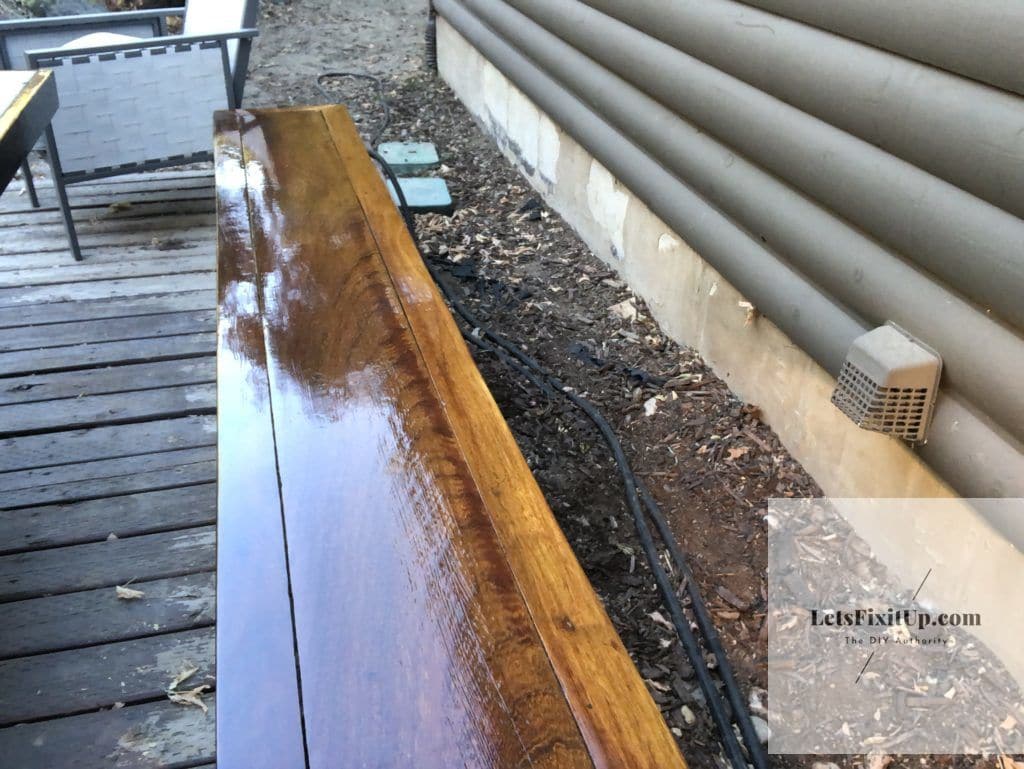
As you can plainly see, refinishing this bench literally restores the luster that has diminished over the course of the last couple of years. As an addition, when sitting on our newly refinished benches we can have confidence knowing that we, our family and our guest will not jam a huge splinter into our rear ends. In fact, we can now sit on a bench that is as smooth as a baby’s bottom.

Steve is a skilled craftsman & DIY expert – with years of general contracting and real estate development experience, Steve founded LetsFixItUp.com as an authoritative resource for home renovation, design and DIY projects.