How to Install a Vanity Light Fixture
Light fixtures are an important design feature in a home that can truly set a space apart from the average, bland and boring. Don’t let your lack of knowledge stop you from doing it yourself. Few design features can add so much as an updated light fixture, and for so little expense.
Follow these few simple steps and you will discover how simple the process really is…so let’s get started, Let’s Fix-It-Up!
I want to say that I have replaced hundred’s of lights fixtures over the years, the truth is, I really don’t know. What I do know, it is generally as simple as 1,2,3….
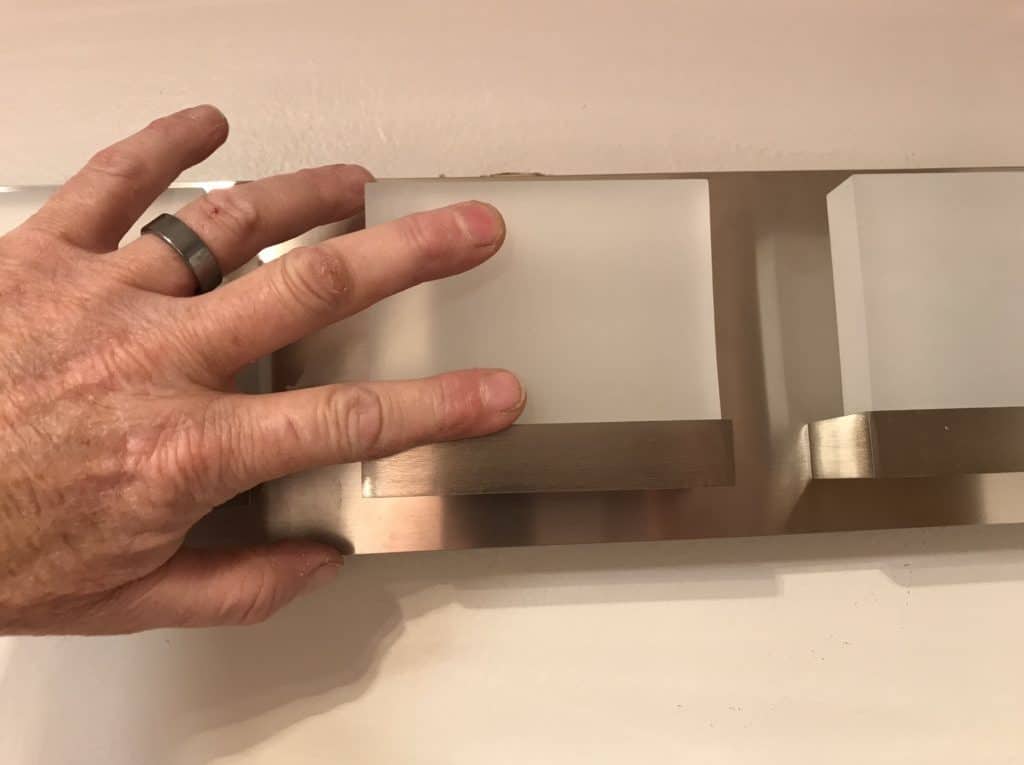
This is an original vanity light fixture that is located in the bathroom of an apartment that I recently purchased. The apartment building was built in the early 1960’s, making this fixture over 50 years old. I think it is safe to say that this fixture has seen a lot of light bulbs, numerous naked bodies, several coats of paint on the walls surrounding it and has been missing its cover for…well, only God knows. The process to replace this fixture should only take 20 – 30 minutes and will make a dramatic aesthetic difference to this bathroom.
Tools You Will Need
- Step ladder
- Utility knife
- Regular or Nettle-Nose Pliers.
- Regular and Phillips screw drivers
- Screw gun (optional)
- New Light Fixture (Vanity Fixture in this case)
- Wire nuts (generally included with new light fixture)
- Wire stripper tool
- Electrical tape
No products found.
Step 1 : Turning Off The Electricity
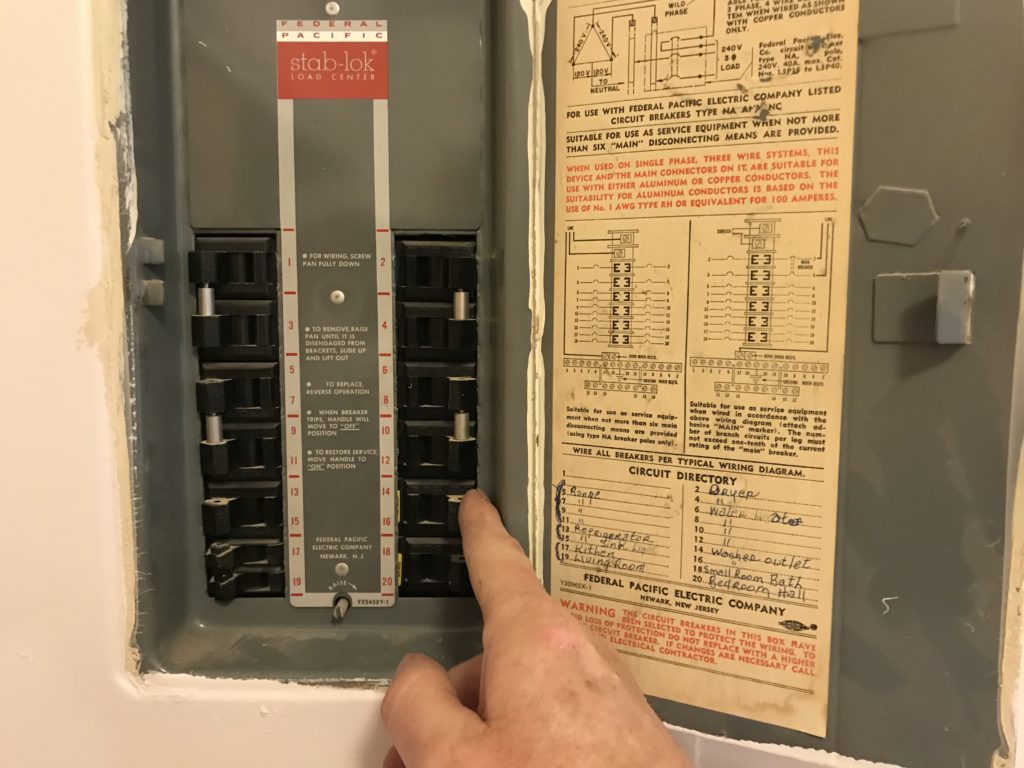
Before you do anything, locate the electrical panel in your home or apartment. Identify the breaker switch that controls the the fixture that you will be working on, make sure it is turned to the OFF position. Double check to make sure, try turning the light on from the switch in the room that you are working in ( in this case, the bathroom) to confirm that no electricity is running to the light!! Once this is done you may proceed to the next step. It may be necessary to use a flashlight or to run an extension cord to a separate stand alone light fixture, to install the new fixture, as the room my prove to be to dark with no lighting.
Step 2 : Removing The Old Light Fixture
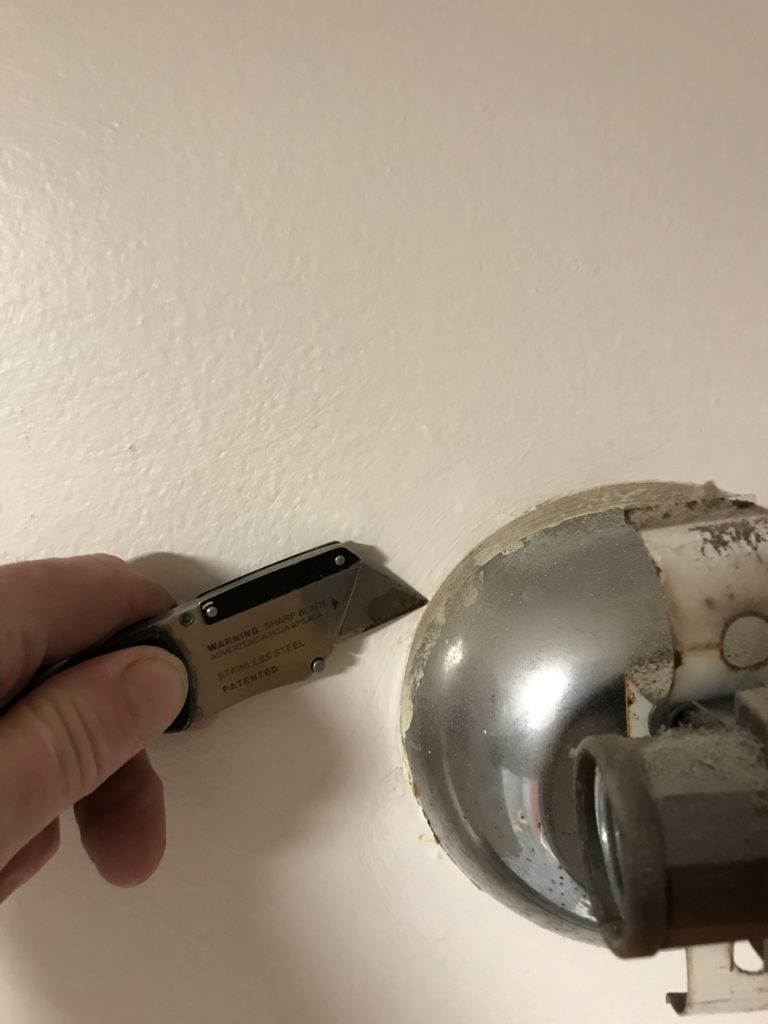
In this case, where the fixture is very old, and several coats of paint have been applied around the fixture throughout the years, I like to take a utility knife and cut around the perimeter of the light fixture. This will prevent the paint, and in many cases the wallboard, from tearing and ripping when the light is finally removed from the wall. No need to add to our workload by creating damage.
No products found.
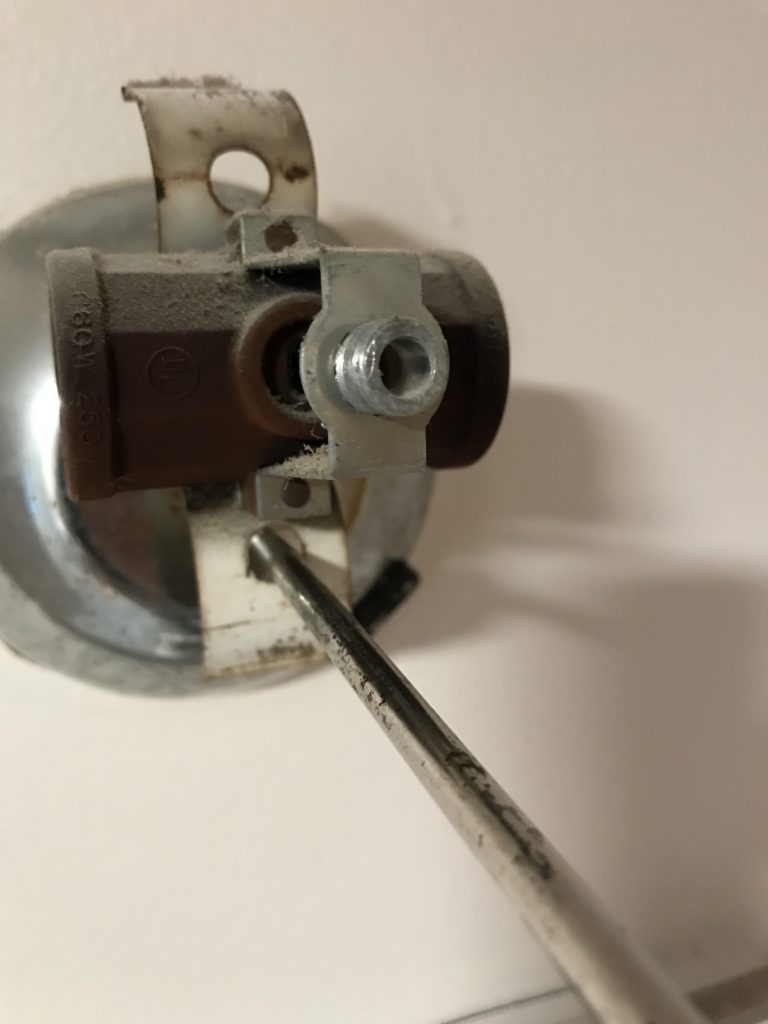
After cutting around the perimeter of the fixture, determine whether the screws require a Regular or Phillips head screwdriver. In this case a regular screwdriver is required, try and use a screwdriver that fits nicely into the slot of the screw head, as you want to be careful not to strip out the head which could make removal very difficult. Turn counter clockwise to remove the screws making sure to identify the correct number of screws ( in this case there are two). Once the screws are removed completely, grasp the fixture and pull it from the wall. (in some cases the fixture will literally fall off, in others, a fair amount of force is necessary to remove it).
Step 3 : Wiring Identification
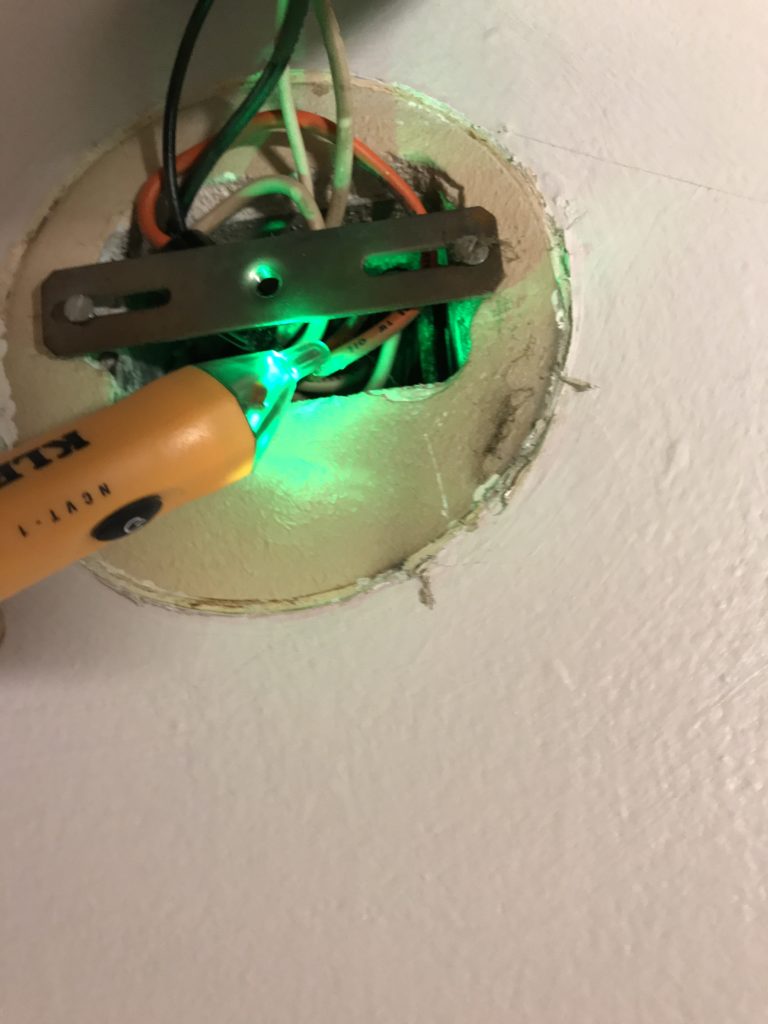
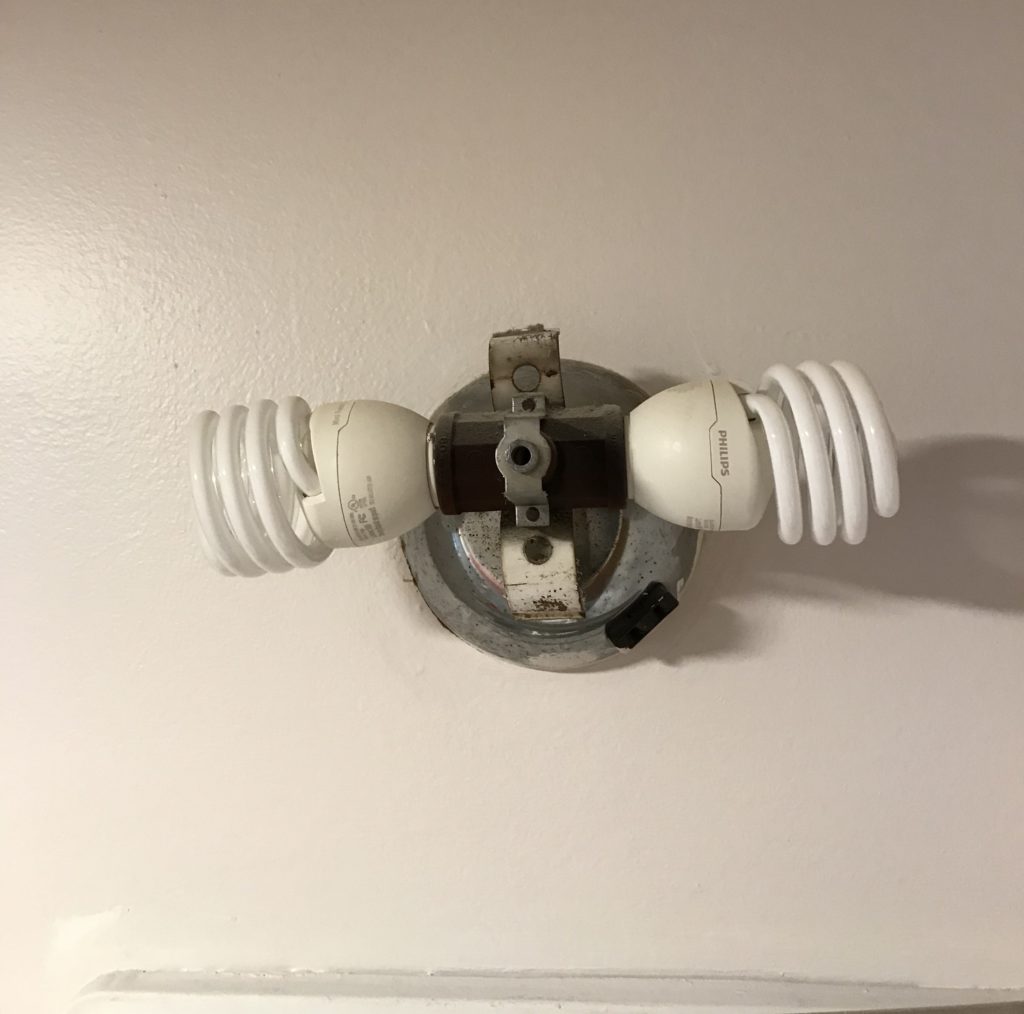
Once the old light fixture is removed it is important to determine which of the existing wires is hot, and which wire is neutral. In newer construction the answer to this question is usually quite obvious, the white wire is neutral and the black wire is hot. In much of the older wiring, the answer is not always so simple, there can be a multitude of colors for the wiring (orange, black red, white and often it is difficult to determine a color at all) therefore, it is always a good idea to turn the power back on and test the wiring with a Voltage Detector as shown above. The indicator will bleep repeatedly and flash red for the wire that is hot, and it will remain green and silent for the neutral wiring.
If you have turned the power on while using a Voltage Detector to determine the Hot and Neutral wiring, turn it back OFF prior to continuing. Unscrew or remove the wire nuts from the old fixtures wiring, disconnecting it completely. Discard the old fixture.
Step 4 : Installing The New Light Fixture
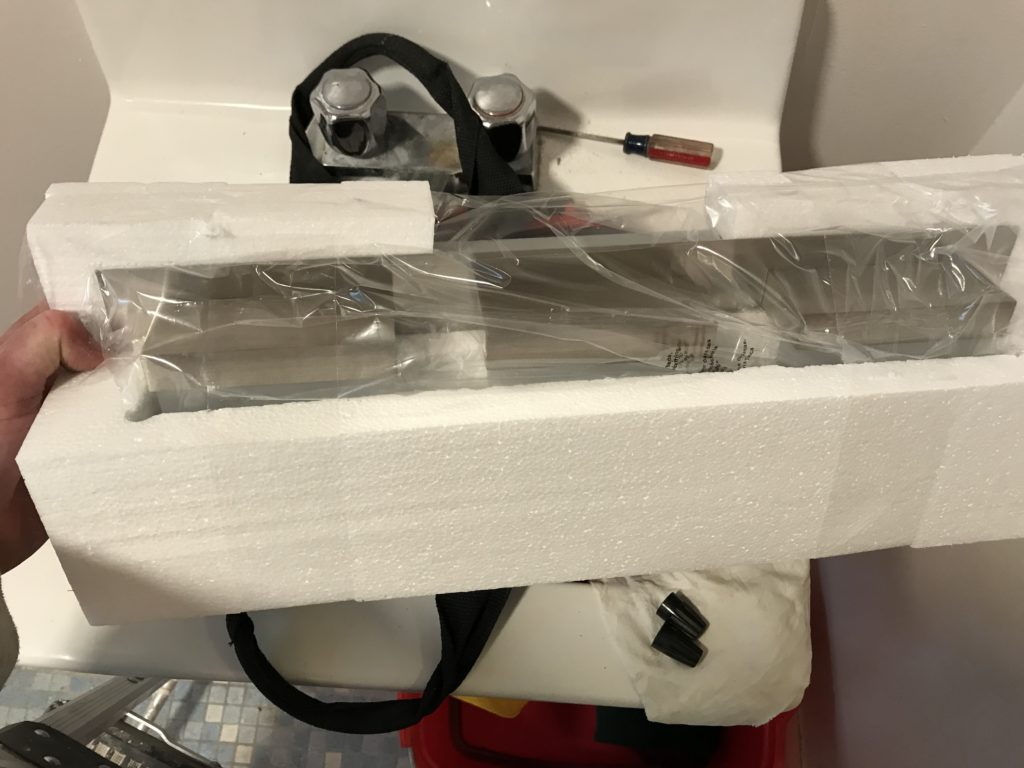
Remove the new fixture from its package, taking care not to miss any parts or break any glass. Lay each part out onto a counter or the floor so you can easily determine if any parts are missing, it also helps so you can clearly identify them as you continue your installation. When discarding the packaging, please recycle.
No products found.
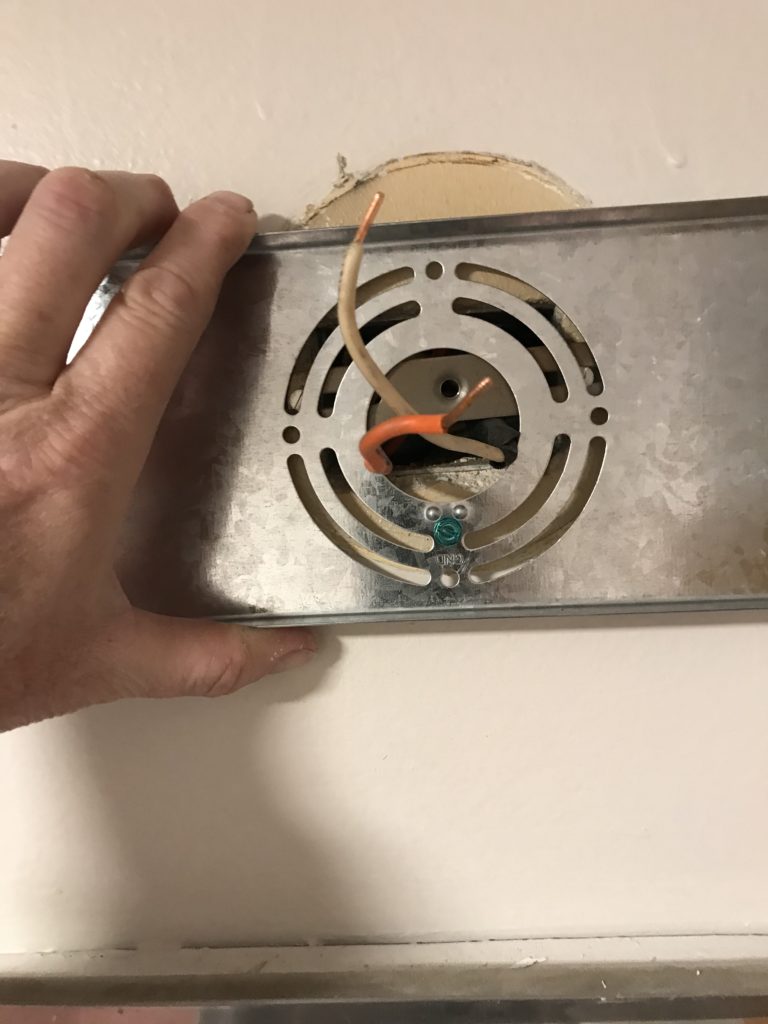
As I begin to install the new mounting bracket for our light fixture, I would like to point out a couple of things; notice that the old paint and wall are not torn (due to cutting around the fixture first), this makes any patching, repair and painting much less involved. Secondly, notice that I am able to utilize the existing electrical box and the old bracket as I mount the new fixture bracket. This may not always be the case when installing a new fixture. Take note of the screws, one at 12 O’clock and at 6 O’clock on the image below.
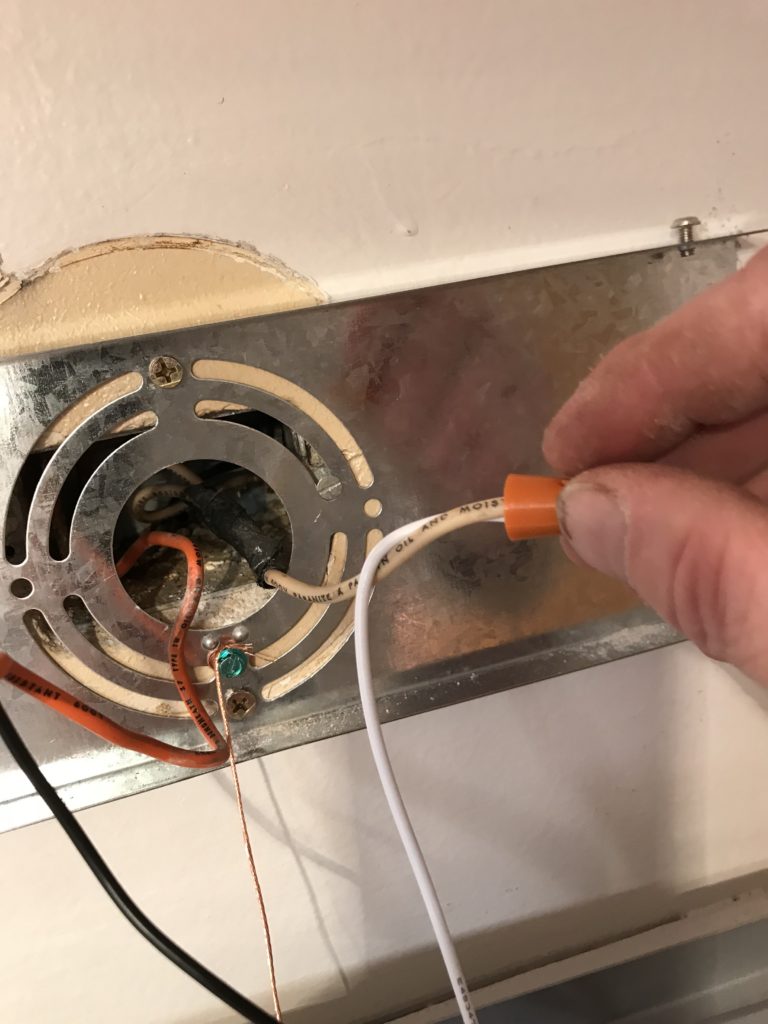
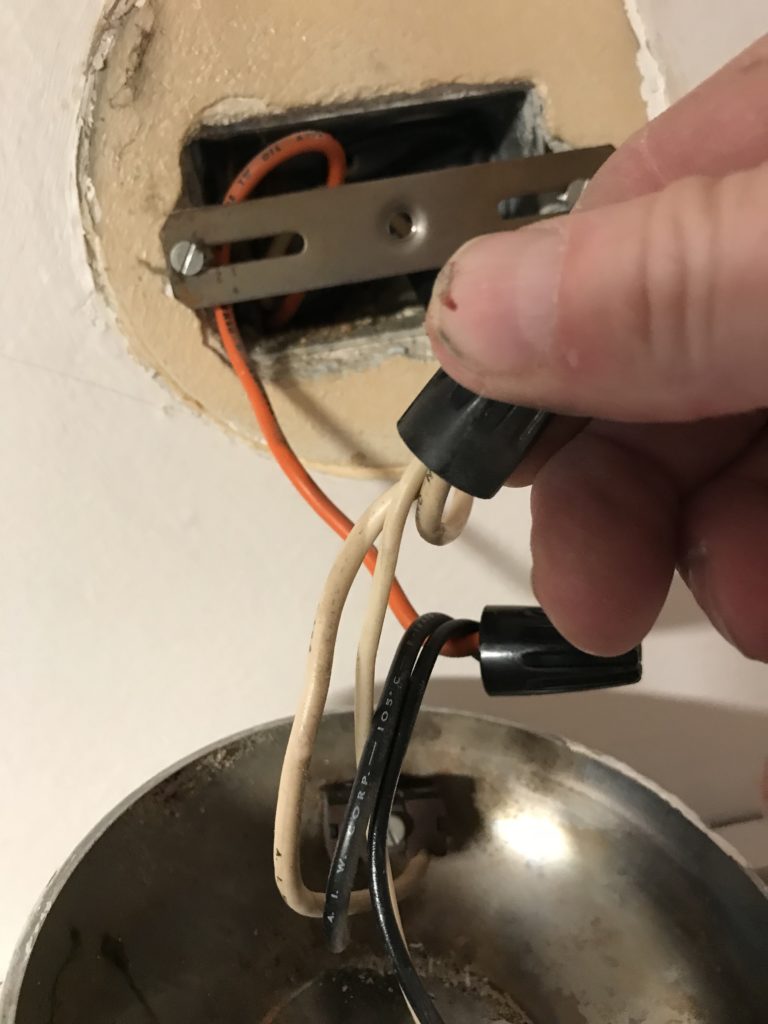
Pull the existing wiring through the center hole of the newly mounted bracket. Wrap the ground wire (bare copper wire) to the green screw on the bracket two or three revolutions (grounding screw) and tighten the screw firmly. Line the bare wire ends of the white wire (Neutral) coming from the wall, with the white wire (neutral) of the new light fixture up evenly, screw on wire nut firmly. Repeat the same process with the Orange wire (hot) coming from the wall, with the black wire (hot) of the new light fixture. Note: often times the hot wire coming from the wall will be black or red (orange in this case) in many of the older buildings.
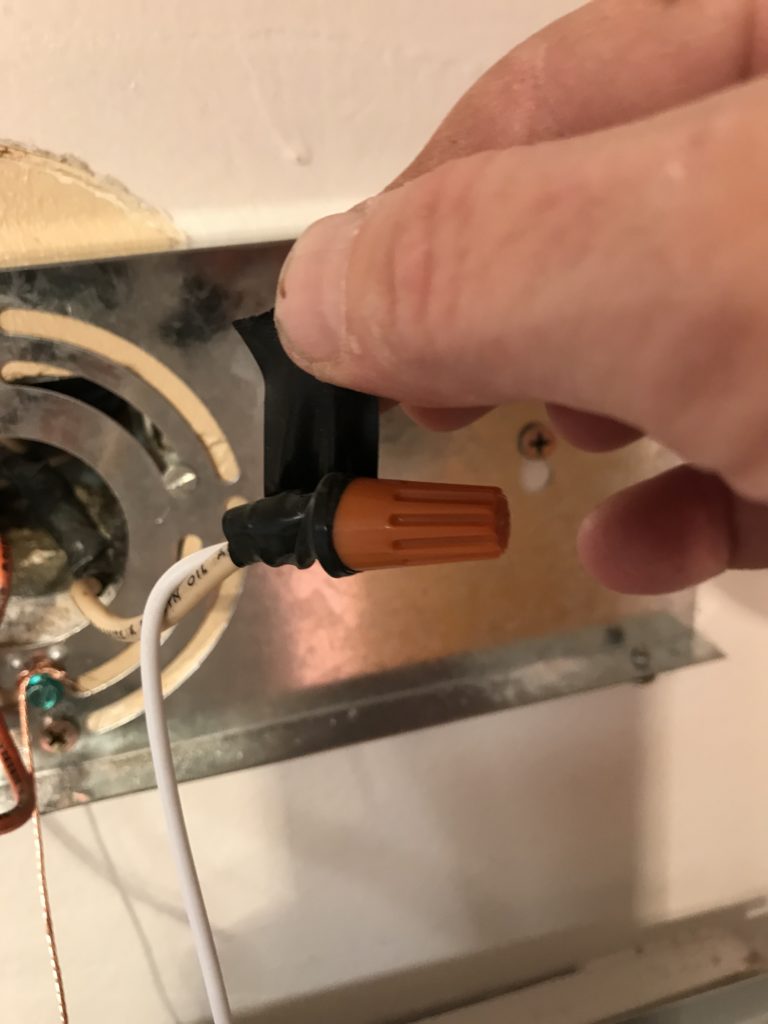
As an additional safety precaution, I like to wrap the wire nut and the wires together using electrical tape. This will help prevent the wire nuts from ever coming loose, potentially preventing a malfunction in your light fixture or perhaps even preventing a fire. Take note of the screw on the lower right hand corner of the mounting bracket, this will be used (along with 3 other similar screws) to secure the light fixture to the mounting bracket.

Once the wiring is complete as described above, tuck the wiring through the mounting plate hole until it is securely held within the electrical box contain within the wall. Once this is complete, mount the new light fixture on the bracket and secure with the screws provided. Secure the screw firmly to prevent movement of the newly mounted light fixture, taking care to mount the light evenly and level. Once this is complete (all parts are securely attached and level), then you may turn the electrical power back on at the electrical box.
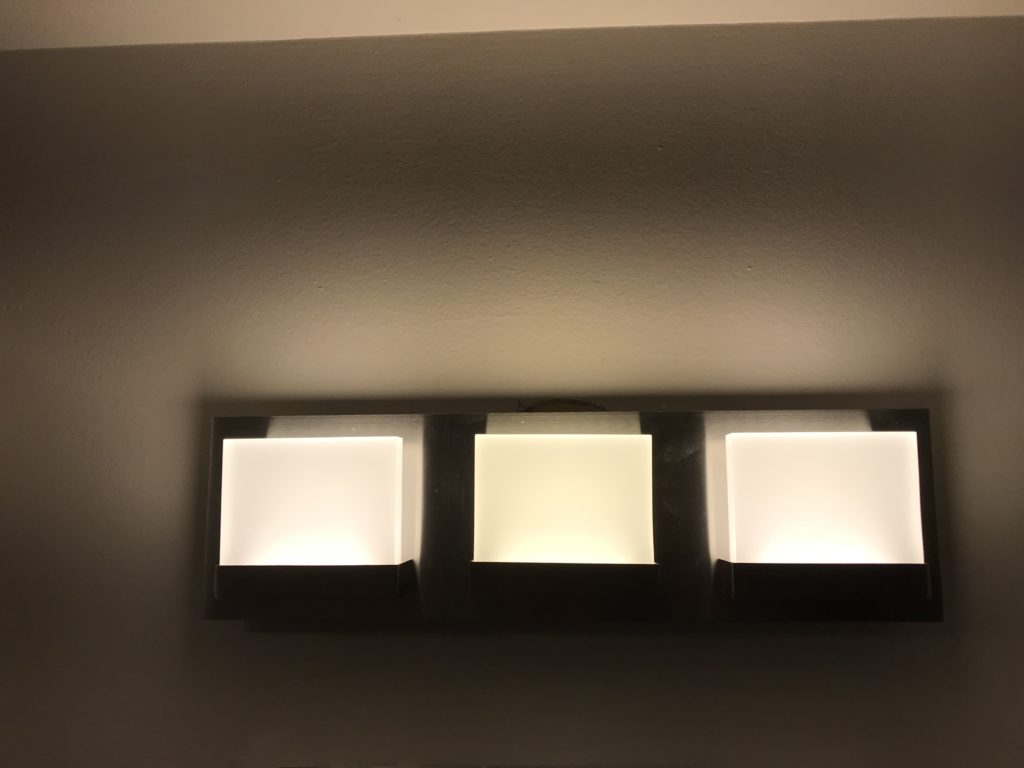
Summary
The end result is a beautiful new vanity light! The difference between the old and the new is dramatic, not only aesthetically, but also in the light it produces. A small improvement such as this goes a long way toward the beautification and updating of your space. Thank you for taking the time to view our tutorial at LET’S FIX IT UP, give the installation a try because I know you can do it! I hope that you all found this helpful.
No products found.

Steve is a skilled craftsman & DIY expert – with years of general contracting and real estate development experience, Steve founded LetsFixItUp.com as an authoritative resource for home renovation, design and DIY projects.
Jessie,
This was my second vanity light. With your help it was a lot faster and better. The first one I didn”t know to cut around the old light box and I pulled the wall paper off and made a lot more work for me.
Thanks for your help,
Ted Leon
I am thrilled it helped. Thanks for your feedback Ted
HEY BUD! I need to replace a light fixture on my deck. I think I can follow the above steps. Where can I get the best deal on out door lighting for my deck?