How To Change A Shower Head
Whether you’re simply switching shower heads and/or installing a new shower arm, The following tutorial will demonstrate and it is as easy as one, two, three…
Supplies Needed
- Pliers
- Wrench
- Clean soft cloth
- Plumber’s tape
- Shower arm
- Flange (often comes with shower arm)
- Shower Head
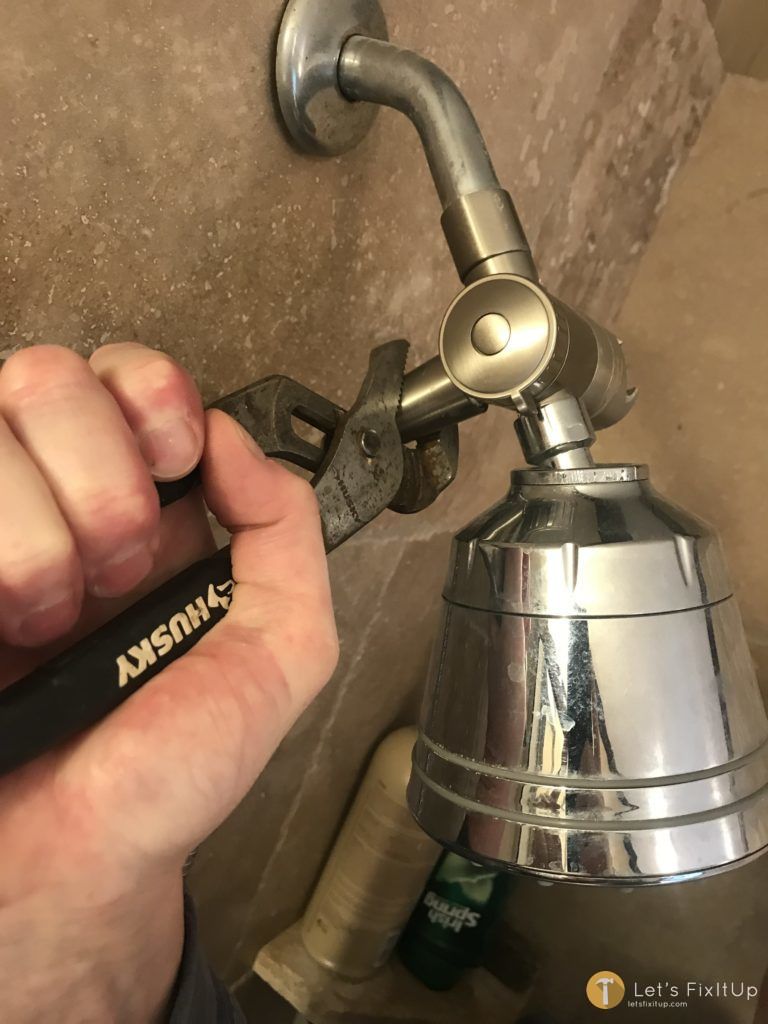
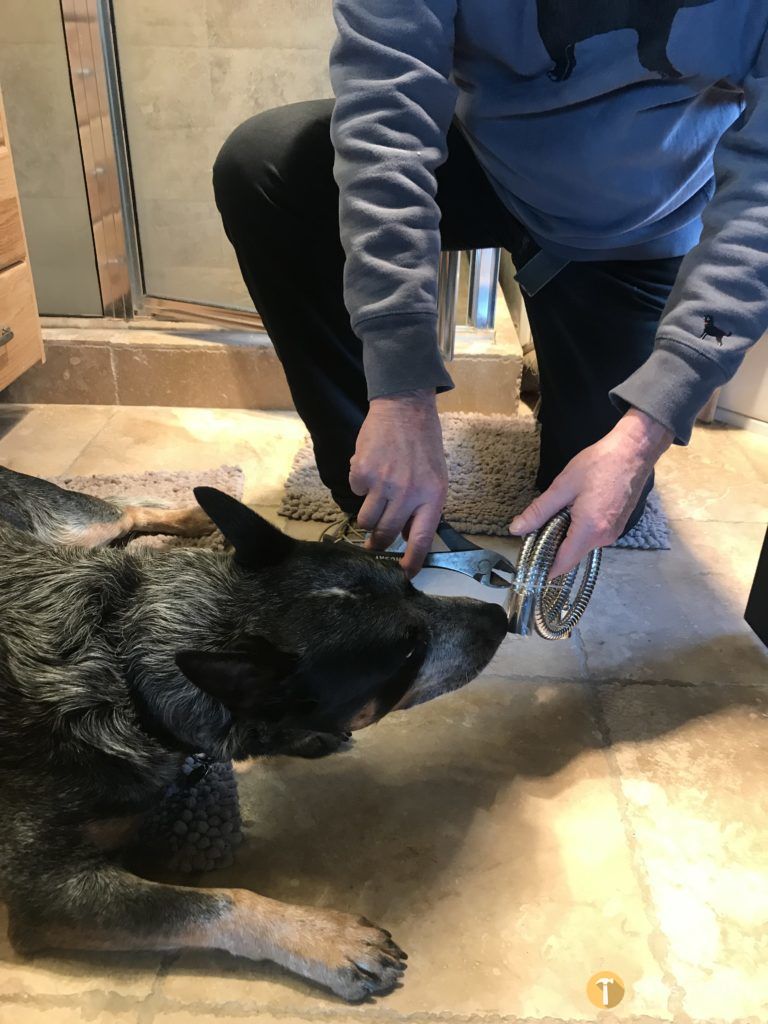
Remove The Connection Nut
Make sure the water supply is off to the shower. If you are only replacing the shower head, and plan to keep the shower arm, wrap a cloth around the arm to protect it from scratches. Fasten your pliers/channel lock pliers onto the shower head base where it meets the shower arm and turn the nut counterclockwise. In this example, we are replacing the fastening hose in its entirety, therefore, it is not necessary to protect the fastening hose nut as it will be discarded.
Removing The Shower Arm
In the event you want to replace the shower arm, unscrew the pipe where it extends into the wall, turn counterclockwise.
If you are unable to loosen the the shower head or the extension arm, soak a cloth in CRL solution or white vinegar then wrap it around the nut on the shower head, let it soak for several minutes, this will dissolve any mineral build-up and make it much easier to unscrew.
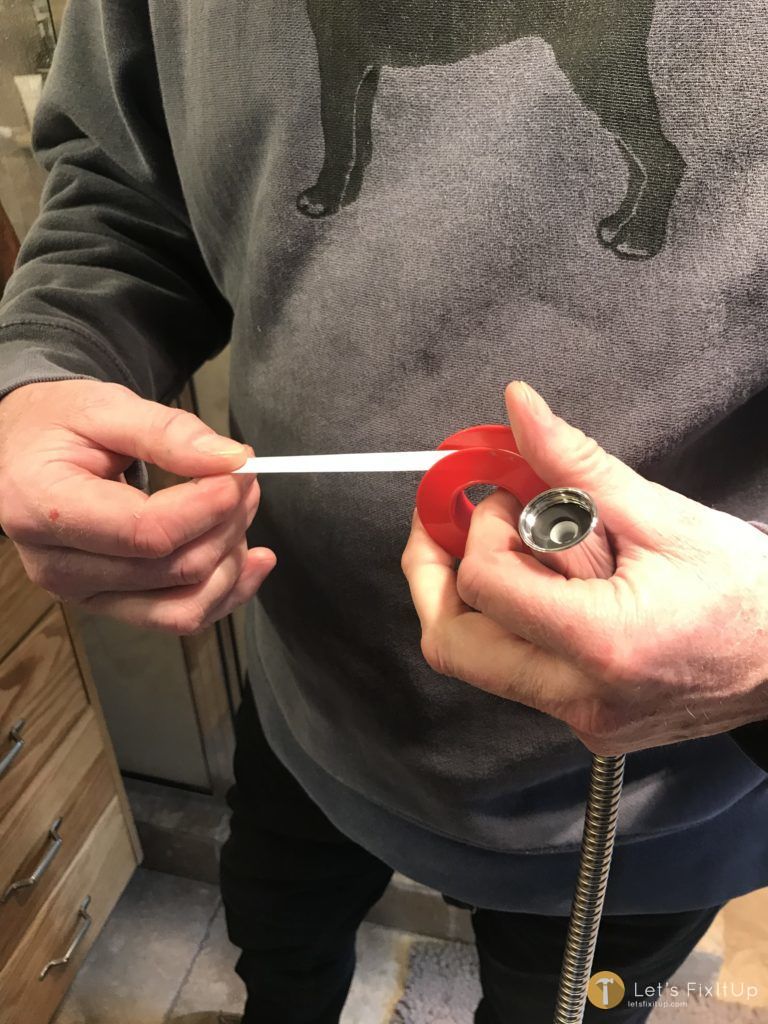
Wipe around the hole in the wall to remove grime and mineral deposits. Wrap 3-4 layers of plumber’s tape clockwise around the end of the shower arm that goes into the wall. It’s critical to wrap the plumbers tape in the opposite direction of the threading of the arm as it twists into position.
Installing the Arm and The Shower Head
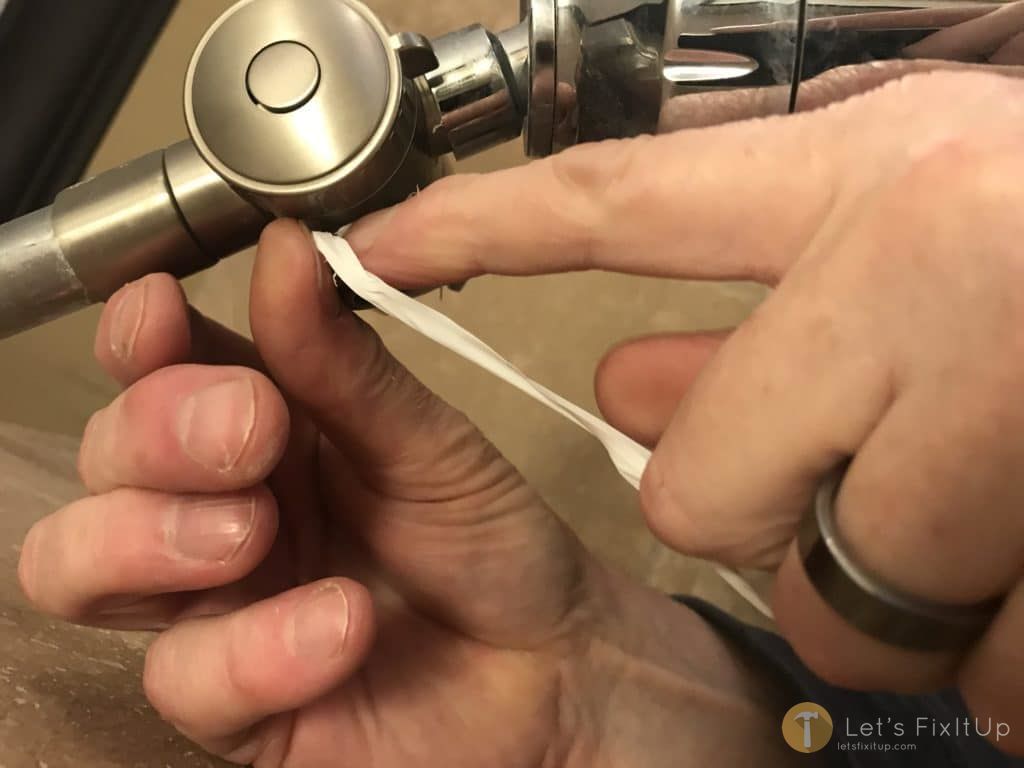
Insert the end of shower arm into the pipe contained within the wall, turning clockwise. At first just hand tighten, then placing a cloth over the arm and using a pair of channel lock pliers, gently continue to turn about 1/2 revolution. Do not over tighten as this could result in breakage. Replace the o-ring flange. Repeating the process by wrapping, 3-4 revolutions of plumbers tape counterclockwise on the other end of the extension arm.
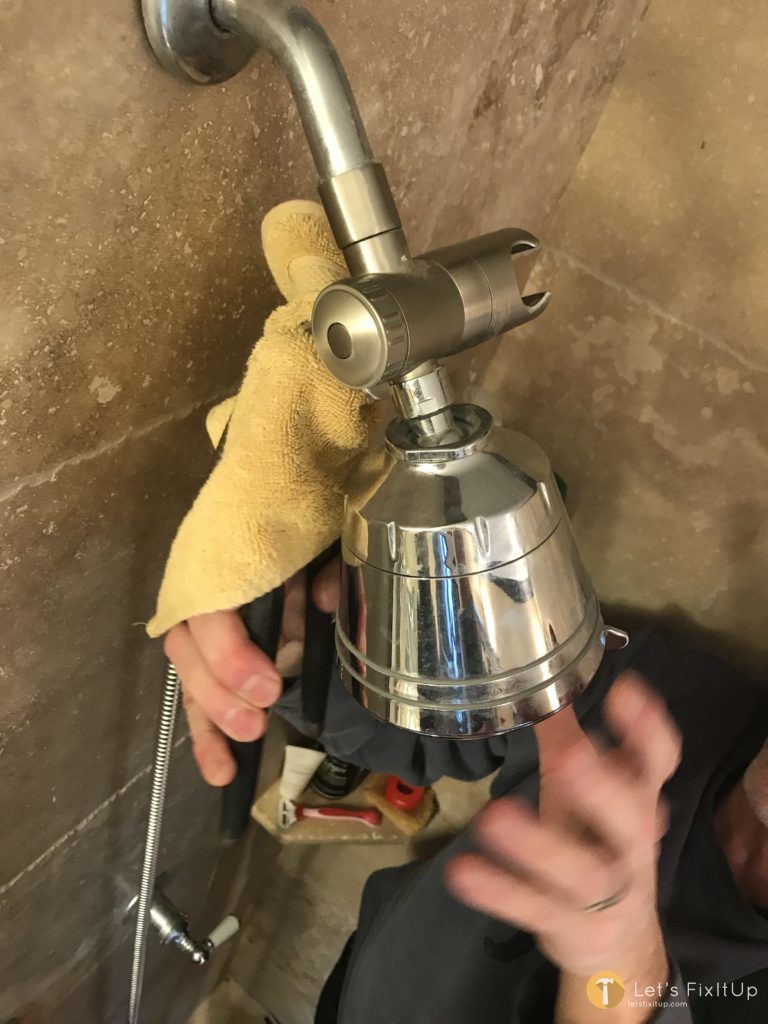
Screw the shower head hose onto the threads by hand initially. Then cover the shower head hose nut with a cloth , using channel lock pliers continue to turn clockwise about 1/2 turn, this will ensure that the shower head does not leak.
Recommended Most Popular Shower Head
No products found.
Congratulations, you did it!!

Steve is a skilled craftsman & DIY expert – with years of general contracting and real estate development experience, Steve founded LetsFixItUp.com as an authoritative resource for home renovation, design and DIY projects.