How To Install Artificial Grass Over Dirt
I said I’d never do it, install artificial grass that is, it just looks so, yeah, you guessed it… artificial. But I had this area in my yard that just couldn’t keep real grass growing and alive. It has been a heavy traffic area on a fairly steep slope, half shade and half sun. I have tried several things, bark, brick pavers and steps, but nothing seemed right at this particular spot. So I relented and installed some artificial grass. Here is what I did:
I first measured the area that I will be installing the artificial grass to determine how much to purchase. I elected to use No products found., because I believe it to be the most realistic of the artificial grass options, in addition to its quality construction. As I was investigating the grass options, I noticed that the grass can be purchased in a multitude of dimensions, which is great because that will reduce the amount of excess that you will have to trim off, thereby maximizing the usage of the grass you have purchased. For my area I purchased 3 rolls of 7′ x 10′ each.
Dirt Preparation For Artificial Grass
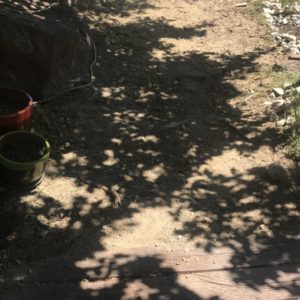
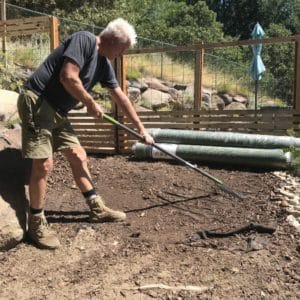
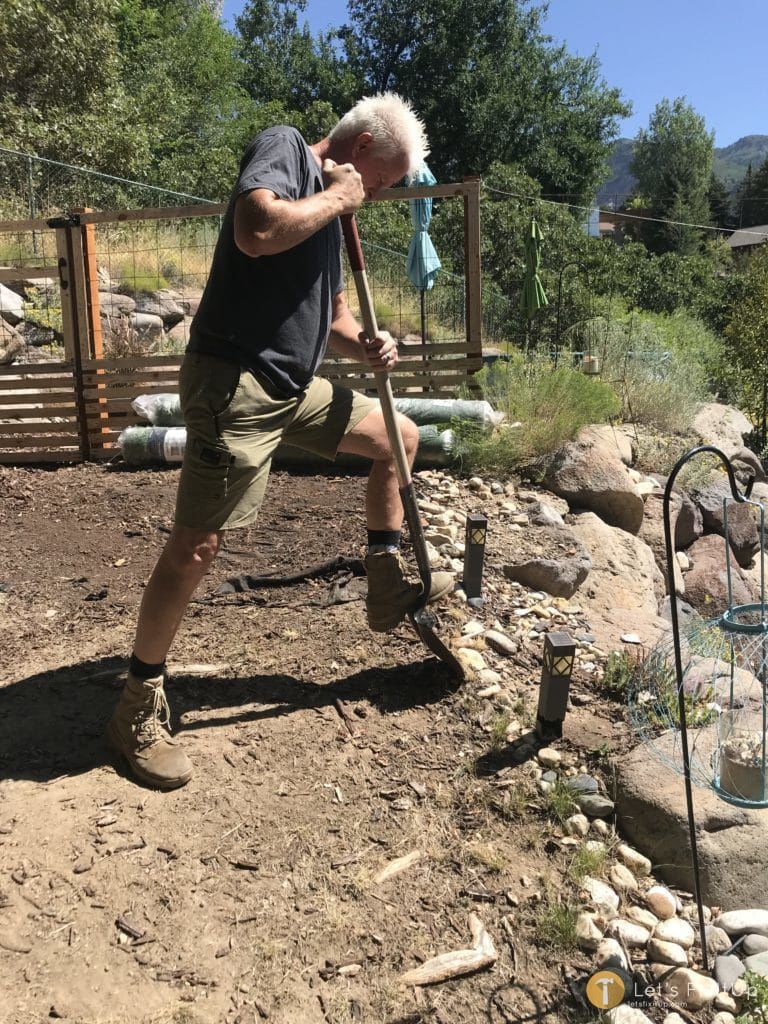
To begin, I cleared the entire work area of all loose debris, first using a rake a square mouth shovel and then using a rough push broom. As you can see in the picture above, there are exposed tree roots. I chose to just lay the artificial grass directly over them. I decide not to do much leveling on the ground surfaces as the irregularities would seem quite natural.
The one edge of the project area has an existing flower and plant bed, that is bordered by various rock types. I removed the border so I could get a very straight edge as I laid the grass, I did this with the idea that once the grass was laid, I could then come back and create a very straight border with the rocks that I had previously removed.
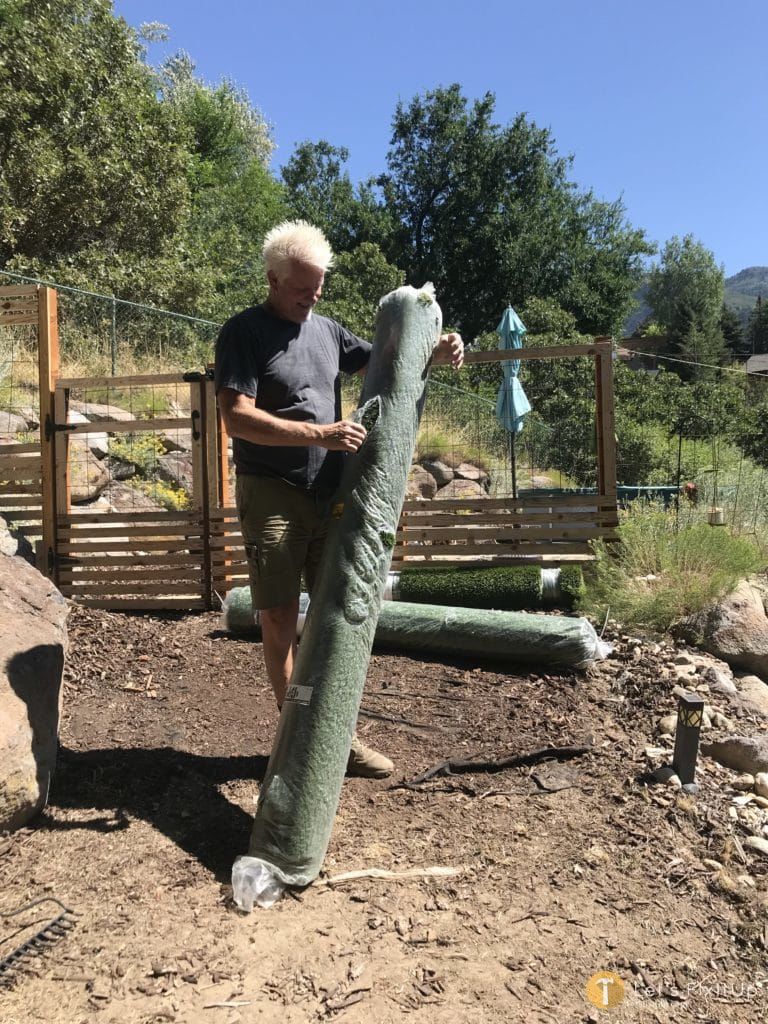
Once I was satisfied with the ground surface preparation, I unwrapped the artificial grass with a sharp knife (taking special care not to cut the artificial grass). Starting from the bottom and moving up hill, I began by rolling out the first 7′ x 10′ roll of turf. Taking great care to line it up in precisely the right line as this was going to determine how the entirety of the project would look as a finished product.
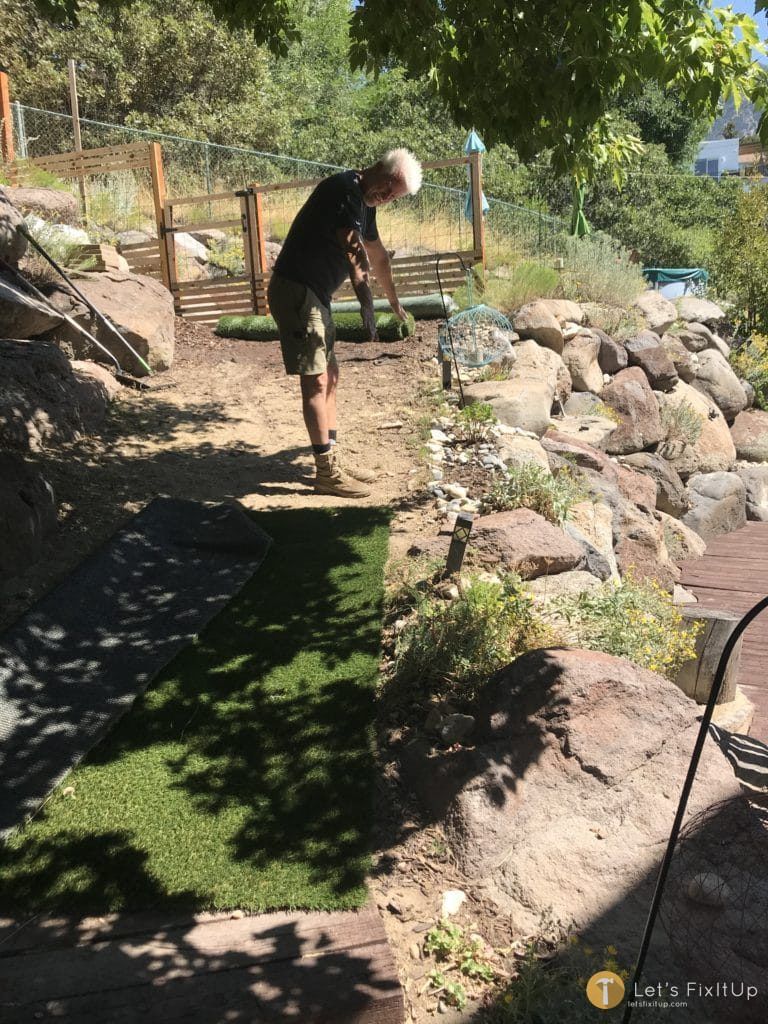
In this case, I knew that I could have a bit of room to be off just a little bit, because the rock border would hide any slight imperfections in the straightness of the line. If you have a area that need to be absolutely straight, it would be a good idea to run a string line from one end to the other to ensure that degree of perfection.
Securing The New Artificial Grass
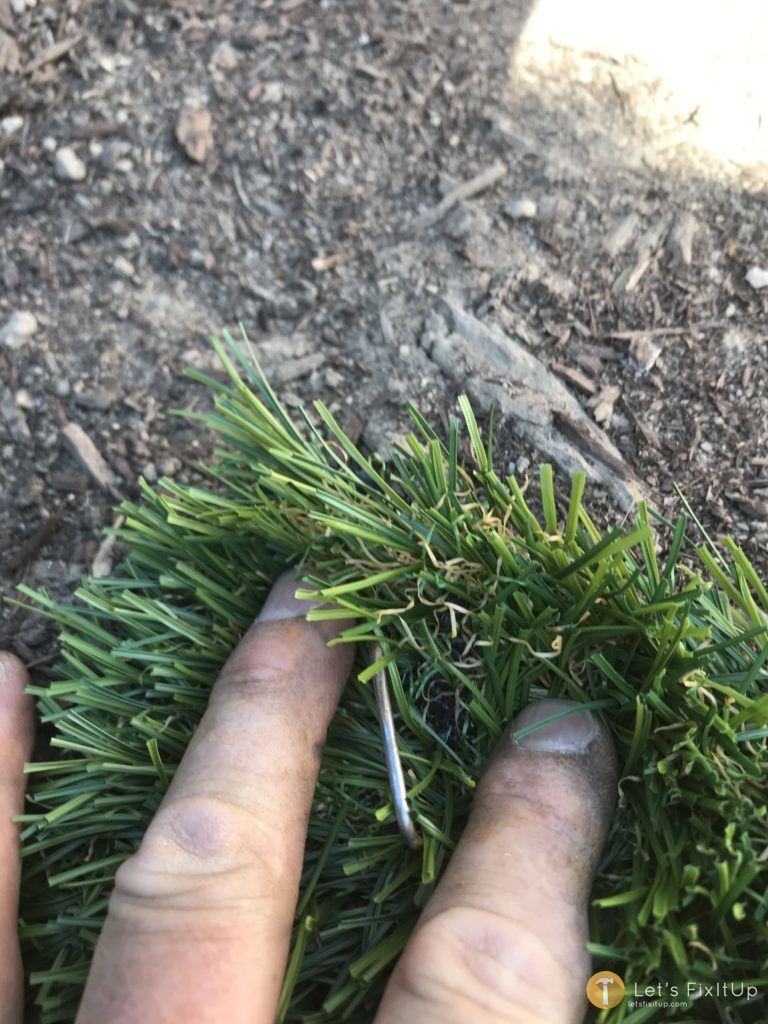
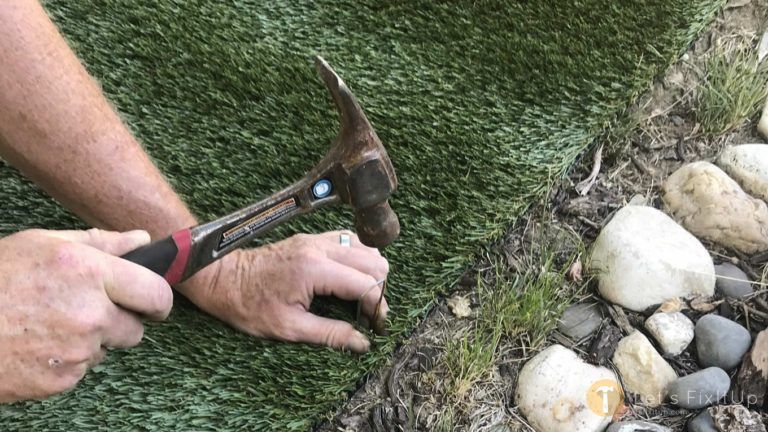 Using 3′ long fabric and garden staples carefully hammer them through the artificial grass into the ground to secure the turf. As the staple was nearly in, separate the grass fibers so that they are not under the staple, finish hammering in and then blend the pulled back fibers over the staple to conceal it. I used 1 staple for each 12″ of artificial grass, both horizontally and vertically.
No products found.
No products found.
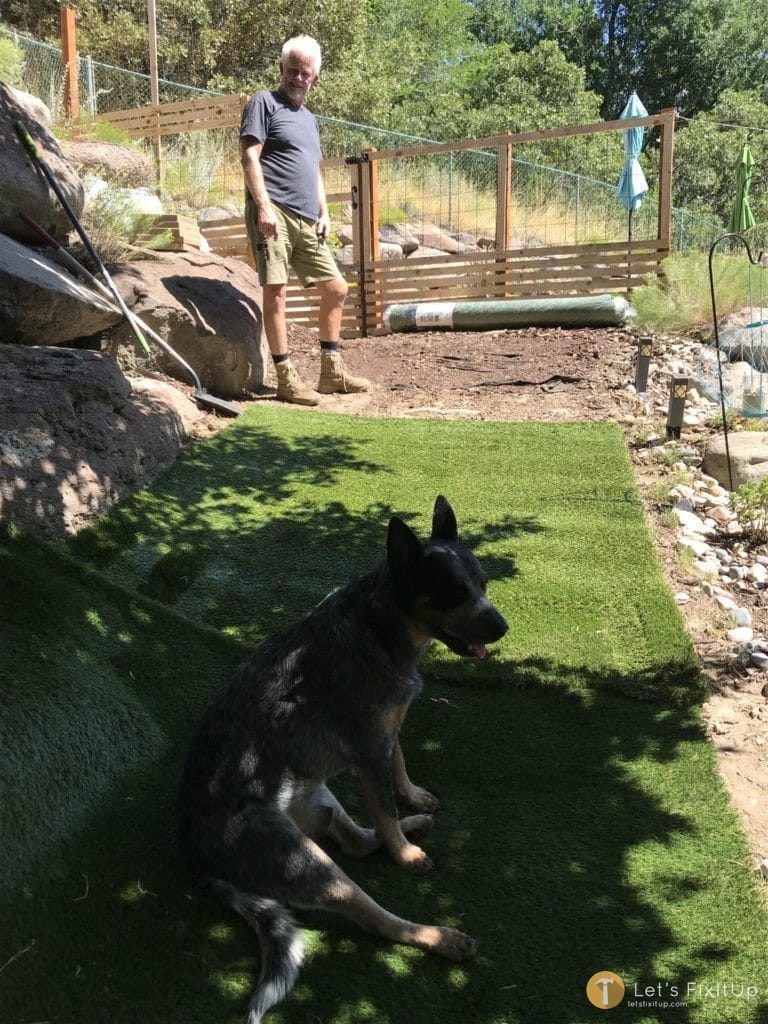
When laying your second, third, fourth pieces of artificial turf and so forth, make sure the artificial grass fibers are all laying or falling in the same direction. This will help to ensure that the seams are much less visible. Many manufacturers of artificial grass recommend that you use a adhesive sheet of fabric to connect one section of turf with another, in addition, the usage of a special caulk is also recommended. Due to the steep slope of the surface area of my project, I elected to utilize the fabric and garden staples to secure the artificial turf. By installing a staple every 10″ – 12″ in each direction, and also by straddling a staple over the edges to connect two pieces of turf together, I was more then satisfied with the seams and the fact that the turf would not move. It actually worked remarkably well. Once you have completed these steps, using a carpet rake, rake the artificial grass fibers all in one direction to begin to train all the fibers toward leaning in the same direction. I actually sprinkled some fairly fine dirt on the grass surfaces, broom swept and raked the dirt in, and finally, after every process was complete I hosed the artificial grass surface off.
No products found.
Trimming the Edges of Our New Artificial Grass
Once you have laid and secured all the pieces of artificial grass that are necessary to cover your project area, then its time to trim around the edges as necessary.
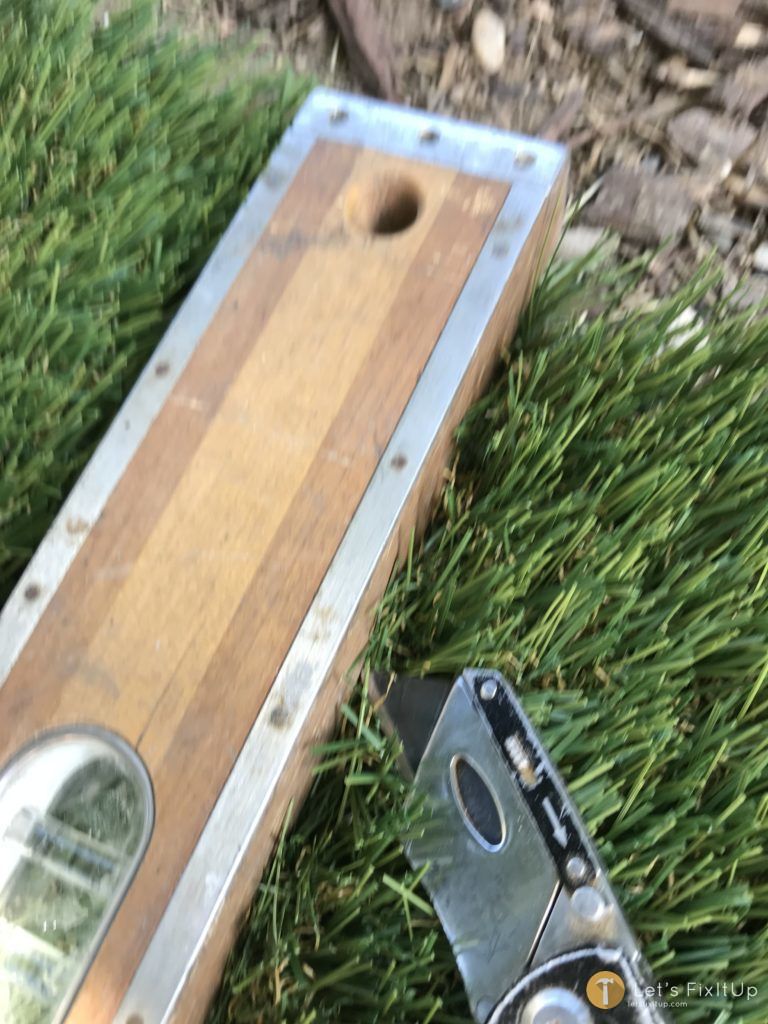
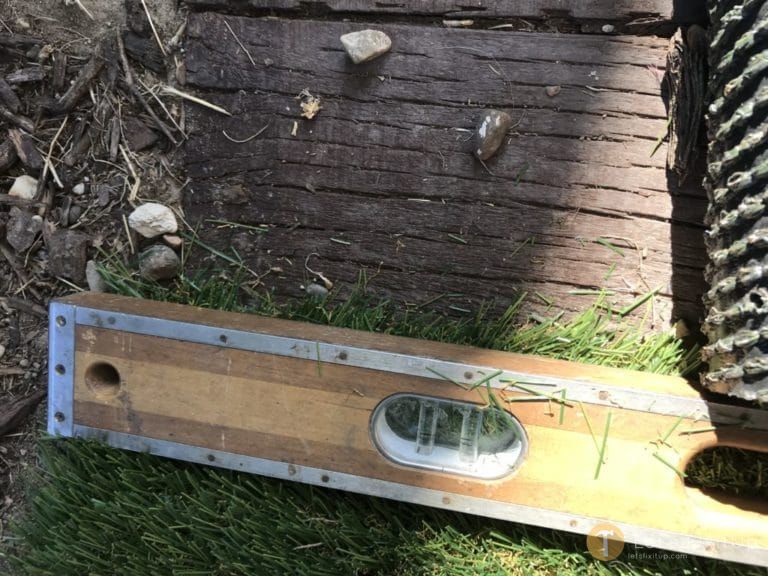
Using a straight edge ( in this case I used a level) and a new utility blade trim the edges of your project to fit to the existing requirement. Make sure the blade is very sharp as the fabric is extremely tough. Use extreme caution when cutting. Cut away from your fingers, hands and body.
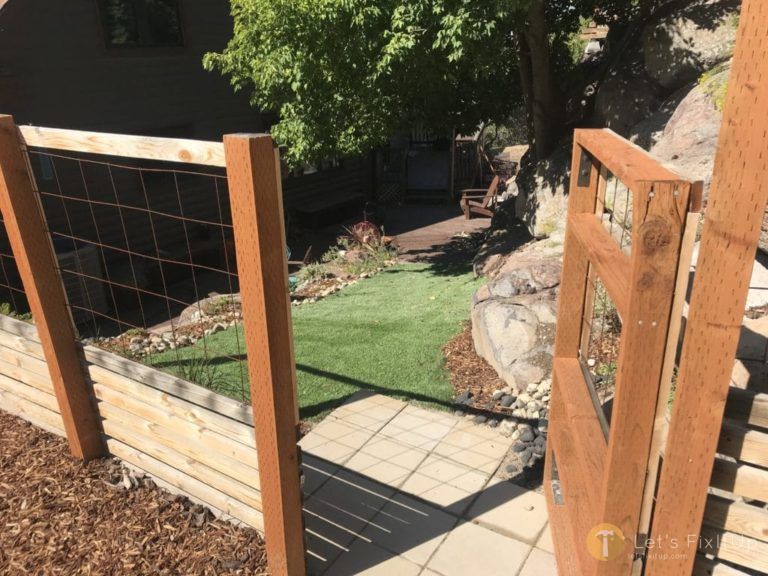
I have laid, secured and trimmed all the artificial grass. To complete the project, I relaid the rock border, separating the artificial grass from the dirt flower/plant bed and I spread some new brown mulch to help complement and give the edges a nice neat look. I was actual very pleased with the way it all turn out. As you can see, it looks quite real.
Our Recommended Artificial Grass Products
No products found.
No products found.
No products found.
No products found.
Steve is a skilled craftsman & DIY expert – with years of general contracting and real estate development experience, Steve founded LetsFixItUp.com as an authoritative resource for home renovation, design and DIY projects.