How To Install Pavers
We recently finished up an artificial grass installation tutorial, we found that we had some unfinished business around the periphery of our project. To complete the overall project, we have decided to install a landing pad made out of patio pavers to match an adjoining pool area patio. It is really a very simple process to install pavers if you just follow a few easy steps!
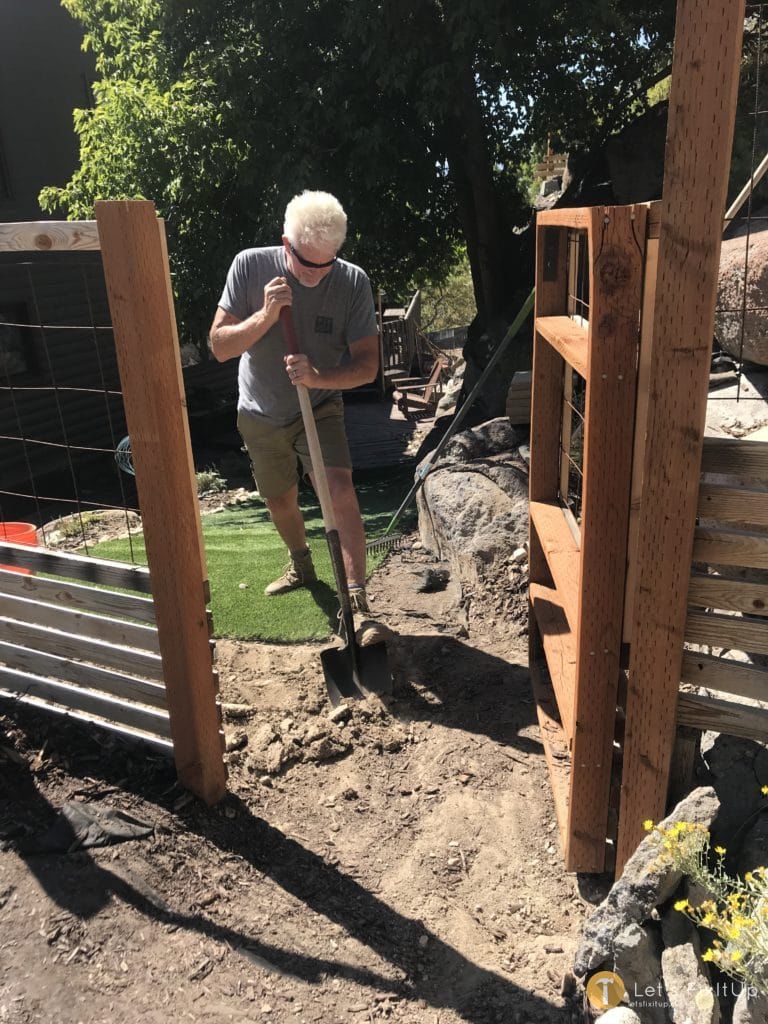
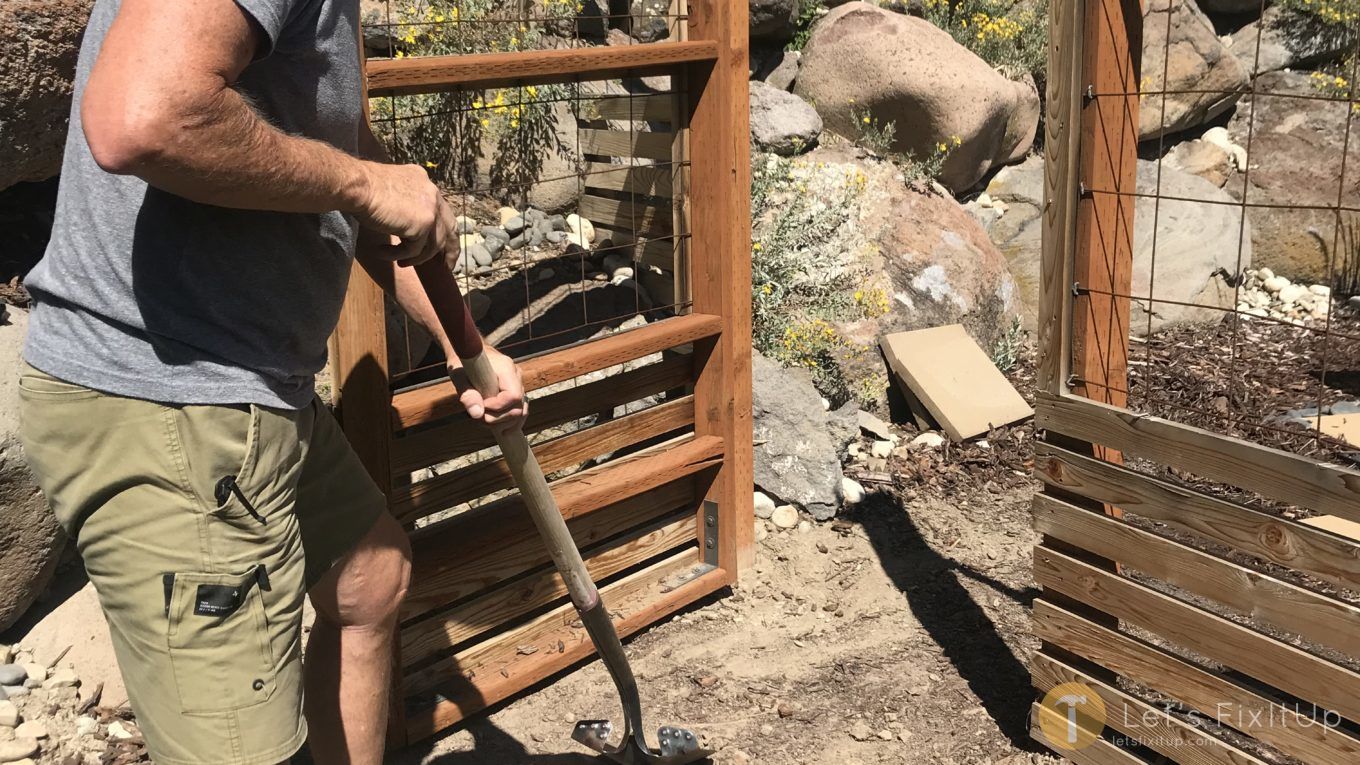
Start By Grading The Surface
Begin by grading the surface area that I will be installing the pavers on. As the picture above shows, on one side I have the artificial grass, on the other side is a gate that leads to the pool area. I would like to have a level landing pad ( area in-which the pavers are laid) so I need to consider a couple of things. First, I need to make sure that there is enough room for the gate to open and close properly without any interference by the pavers. Secondly, how will the pavers line up with the artificial turf so it not only looks good but does not create a tripping hazard. The ground in which I am installing the pavers is pretty high to begin with, it will be necessary to remove some of the soil to get the pavers to fit nicely, both under the gate as well as to line up with the artificial turf.
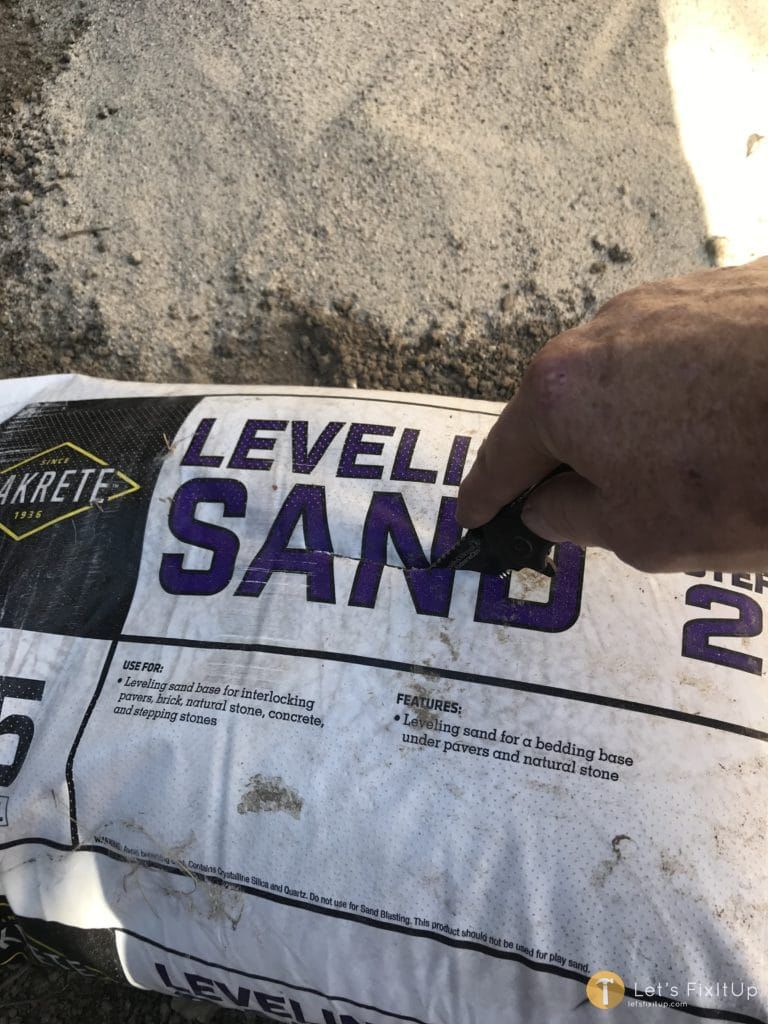
As I am grading the ground surface area in preparation to lay the pavers, I first need to know the thickness of the paver ( in this case its 1 1/2″) in addition to how much leveling sand I wish to use. ideally, about 1/2″ of sand works very well as a leveling and setting base for the pavers. So, this information, coupled with the desired clearance for the gate, in addition to lining up my pavers with the artificial turf, I am able to adequately determine the amount of soil to remove.
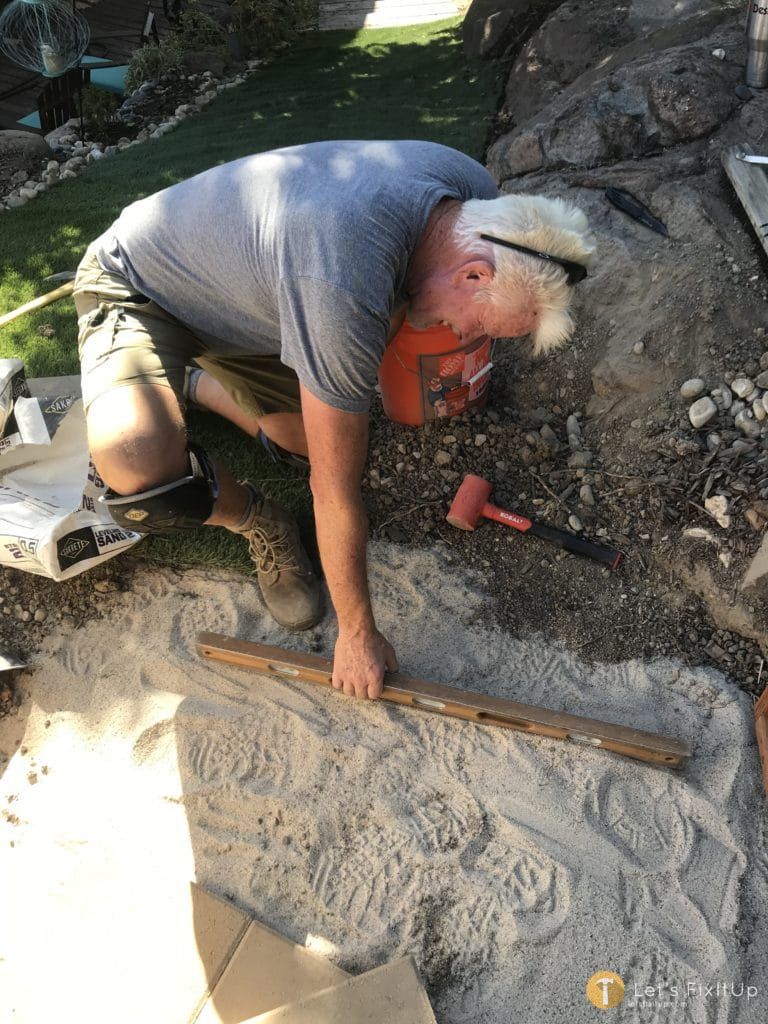
Once I have graded the ground surface to the approximate depth I pour the leveling sand onto the ground surface. Using a level I am able to move the sand around to ensure that I have a level, flat and even surface to begin laying the pavers on. As I begin to lay the pavers I will check the level several times to ensure they remain level.
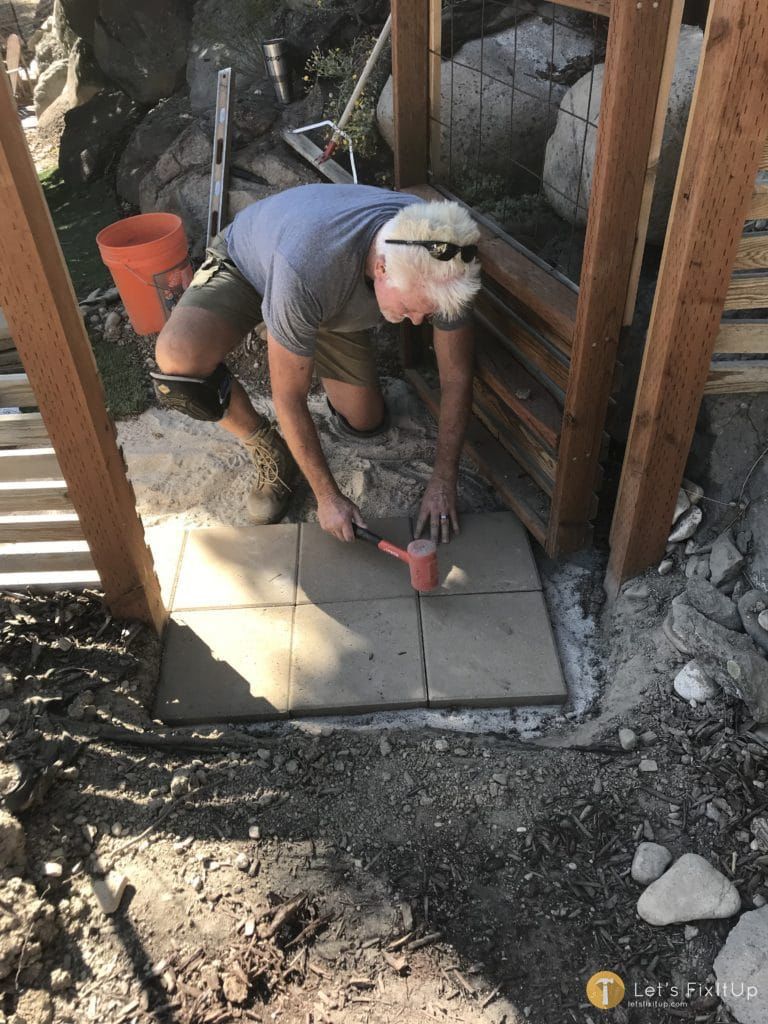
Install the Pavers
When I begin to lay the pavers I select a place to start (first paver), where I can layout the entirety of the pad so it lines up with the things I want it to line up to. In this case, I begin by installing the first paver so it lines up with the gate post, this ensures a clean look. I set the paver and check it for level, I tap the paver gently into place with the rubber mallet. I continue with the second paver, ensure that it is level and that the edges line up perfectly with the previous paver. I continue this process until I have laid out and leveled all the pavers necessary to cover my project area.
Pour Sand to Fill Cracks Between Pavers
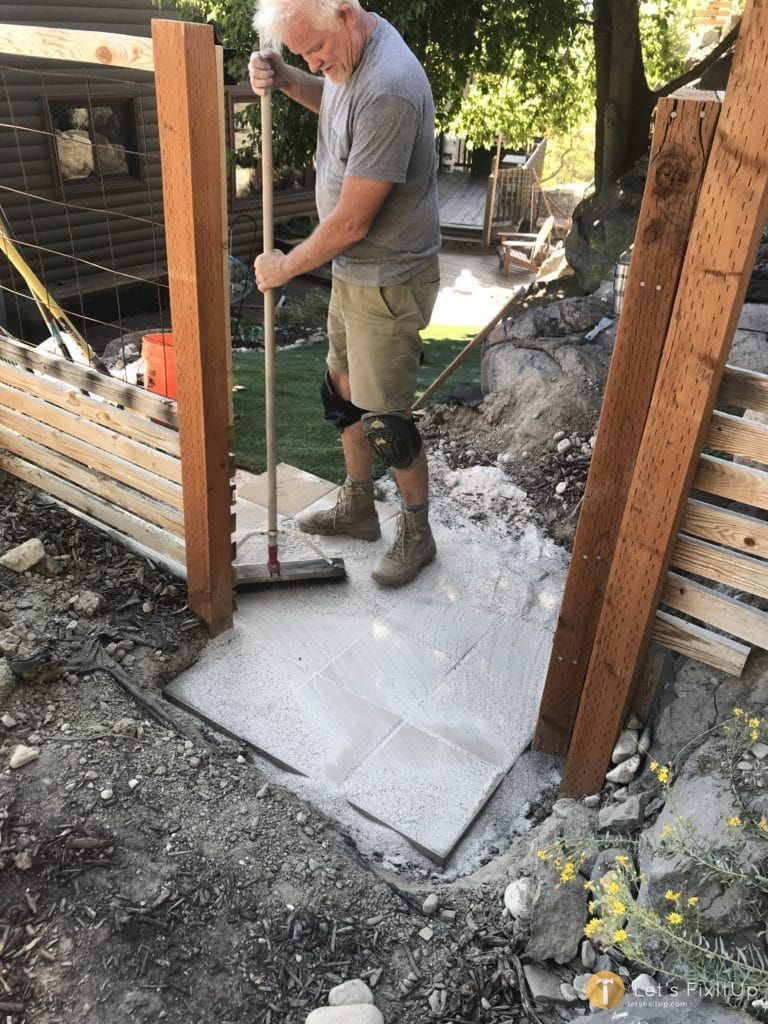
Once all the pavers are in place, I pour a generous amount of white sand over the entirety of the paver project area. I then sweep, back and forth, back and forth numerous times to ensure that the sand falls into and settles in the joints. It is also a good idea to walk around on the pavers several times while sweeping to help the sand settle in, in this way we can be assured that all the movement of the pavers will cease. Fill in and around your paver project area completely and compact firmly to ensure your pavers do not move.
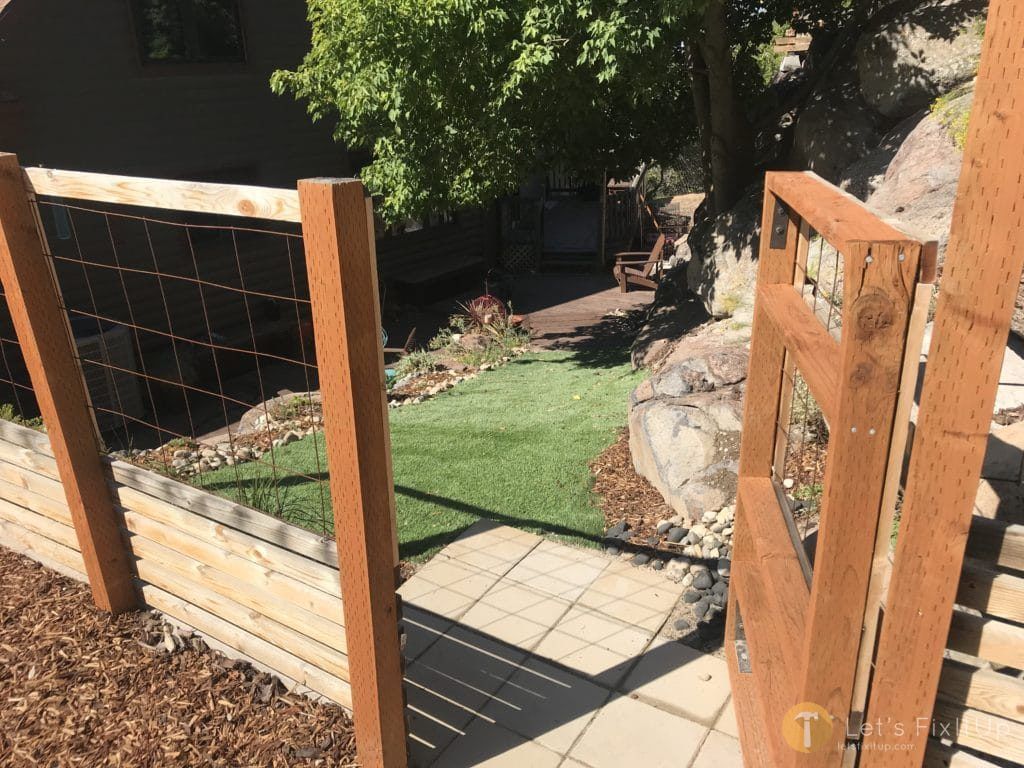
Once you have swept the paver area numerous times and set the boundaries firmly, trim the project with materials of your choice. In this case we used ash river rock and brown bark. Grading appropriately with a rake and shovel to create a smooth transition from the pavers to the surrounding areas.

Steve is a skilled craftsman & DIY expert – with years of general contracting and real estate development experience, Steve founded LetsFixItUp.com as an authoritative resource for home renovation, design and DIY projects.