How To Install a Water Heater
Installing a new water heater yourself vs. hiring it done will save you a ton of money — roughly a thousand dollars, possibly more. I recently received an estimate to install a new water heater in an apartment I own, the price was $1,800.00 ( Water Heater + Installation!)
Top of the line water heaters of the 50-60 gallon capacity, cost roughly $550-$650.00. That means the installation is about $1,200.00. Whew, that’s a chunk of change! Installing a new water heater is really quite simple. On the surface, the task might seem overwhelming or outside the realm of your ability, but once you learn how truly simple it is, you will wonder why you have not done it yourself in the past.

Determining When To Replace Your Water Heater
More often then not, your water heater will tell you when its time to replace it. The following are just a few simple things to look for when determining when replacement is necessary:
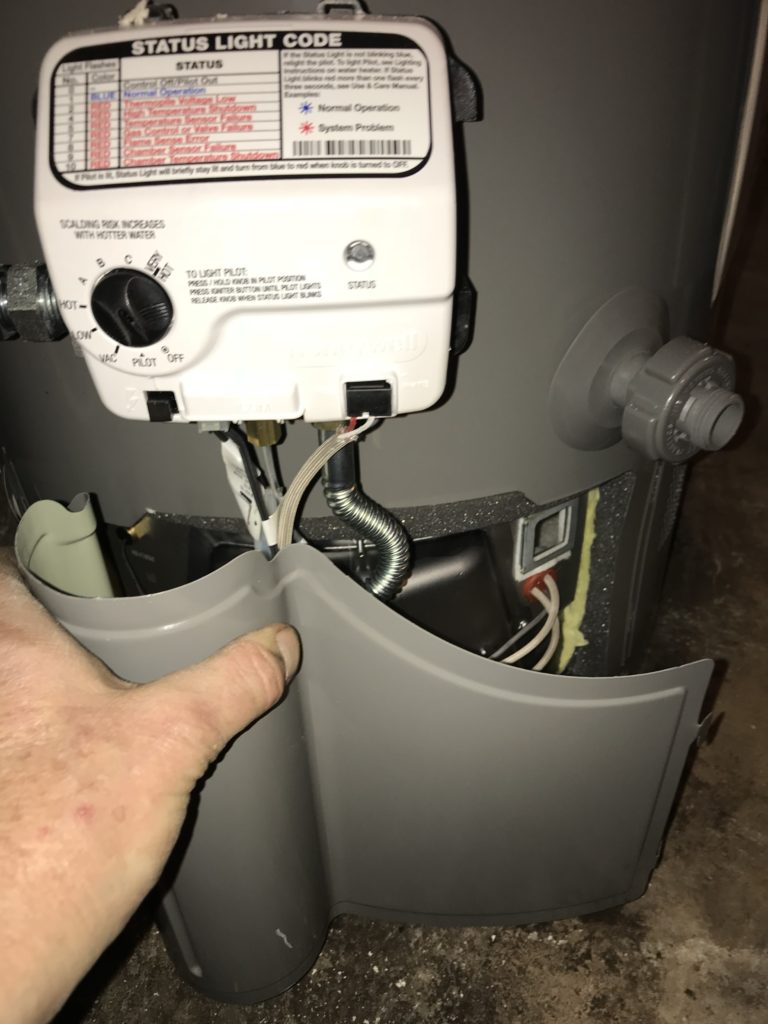
- Pilot Light has gone out- Looking through the small glass window or by removing the outer cover plate at the base of the water heater, determine whether the pilot light has gone out. ( The pilot light is a small blue and yellowish flame that is usually less then 1″ tall). Often times a draft of air or a temporary disruption in gas flow can cause the pilot light to go out.
- Air Drafts or Gas flow disruption- If there are no obvious signs of problems ( such as flooding), try relighting your water heater following the instructions on the water heater that should be present on the water heater itself. In most cases this process involves turning the control knob to the off position, waiting several minutes to ensure any pockets of built up gas are dissipated, turning the control knob to the “pilot” position and depressing the igniter button (sometimes repeatedly, until the pilot light begins to burn) Then, after approximately 1-2 minutes of depressing the pilot button, releasing the pilot button and turning to the on position. The pilot light should remain on.
- Sediment build-up – Over time, your water heater will build up sediment inside the water tank. The rate at which this happens is commonly determined by the type and amount of minerals contained within the water in the area in which you live. Sediment buildup will cause your water heater to operate less efficiently and also will reduce the amount of hot water contained within the water heater itself. The reduction of hot water can certainly cause issues especially in a multi person household. If this is your situation, then consider replacing your water heater right away as it will only be a short period of time before the heater goes out completely.
- Rusting and Leaking- The obvious sign that your water heater needs replacing is the hot water stops flowing and upon investigation you discover that the utility closet is flooded and the clear source is the water heater. Hopefully there is a water heater pan and/or there is a drain very near by.
How To Install A Gas Water Heater
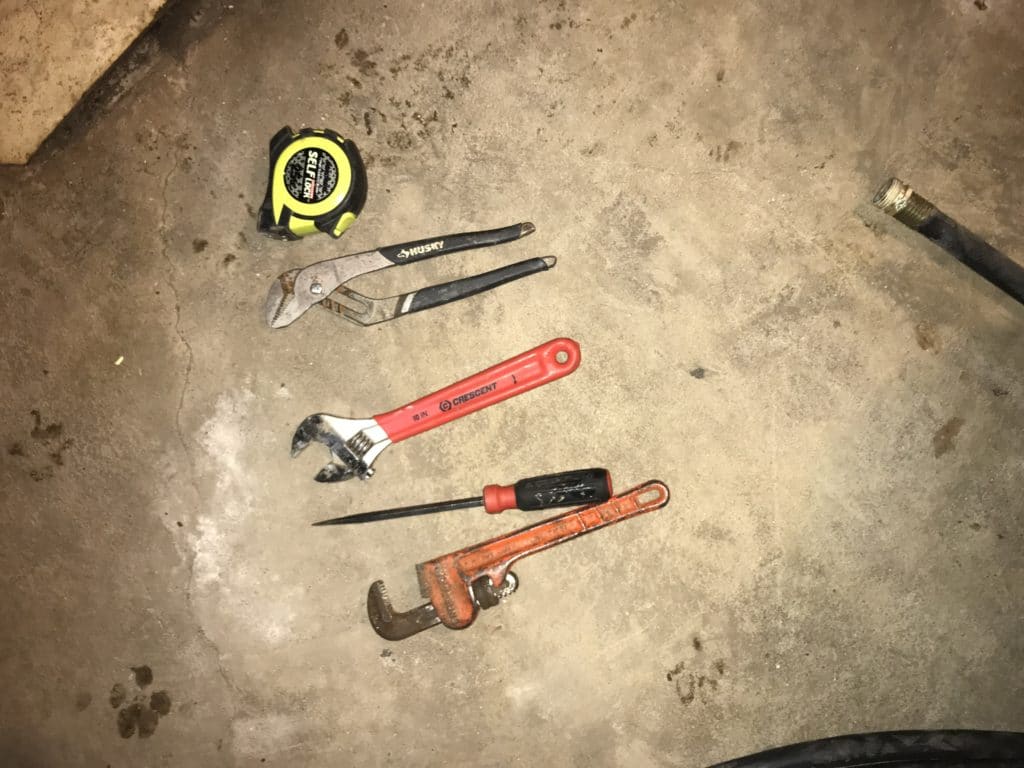
Tools Needed;
- Tape Measure
- Channel Lock Pliers
- Crescent Wrench
- Screw Drivers (Regular & Phillips)
- Pipe Wrench
You can purchase the necessary tools on Amazon above.
Water Heaters are very heavy even without water in them. At 8 lbs a gallon, water in a 50 gallon tank can weigh as much as 400 lbs. Make sure you drain as much of the water off as possible, I like to lay the water heater down following disconnection to drain any excess water out the top whenever possible to lighten the heater as much as I can. Use a Hand Truck or Dolly with a strap when moving the old & new water heaters and always have two people present when moving the water heater.
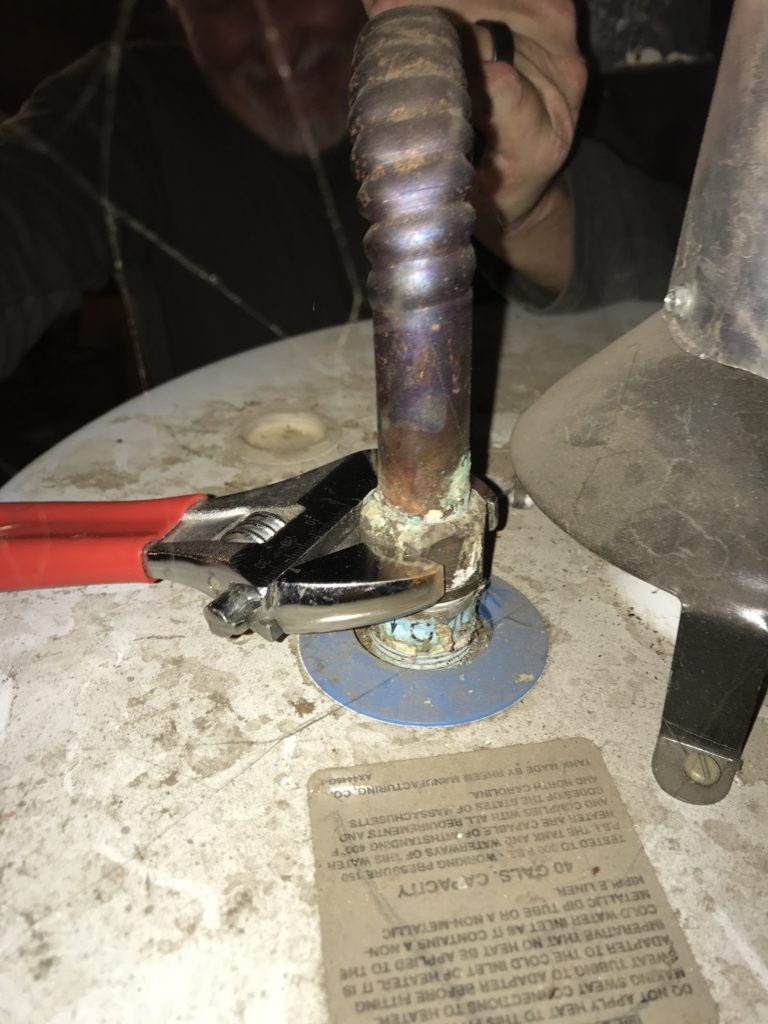
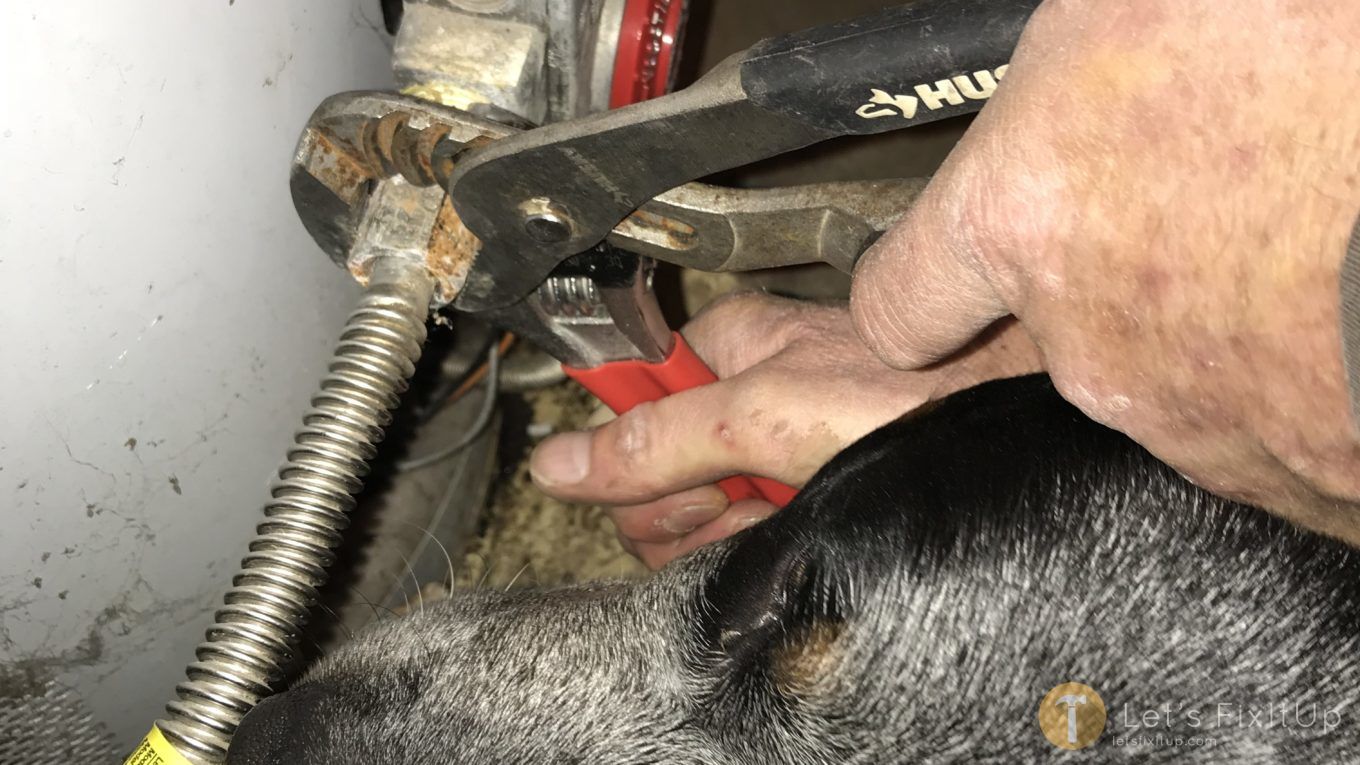
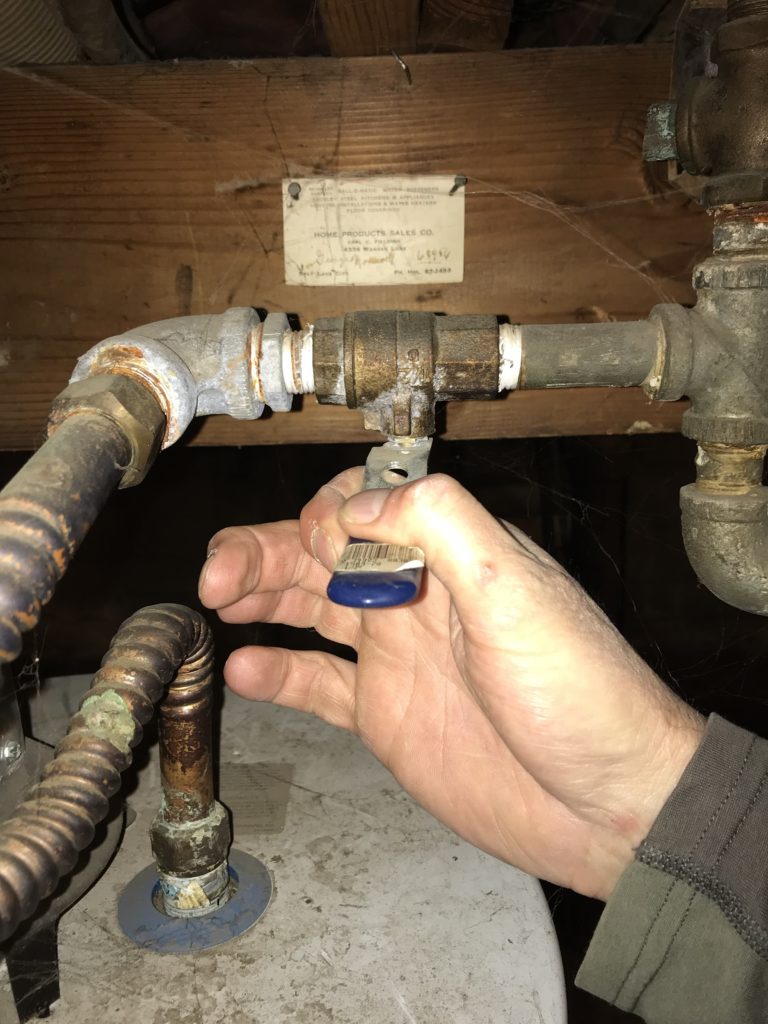
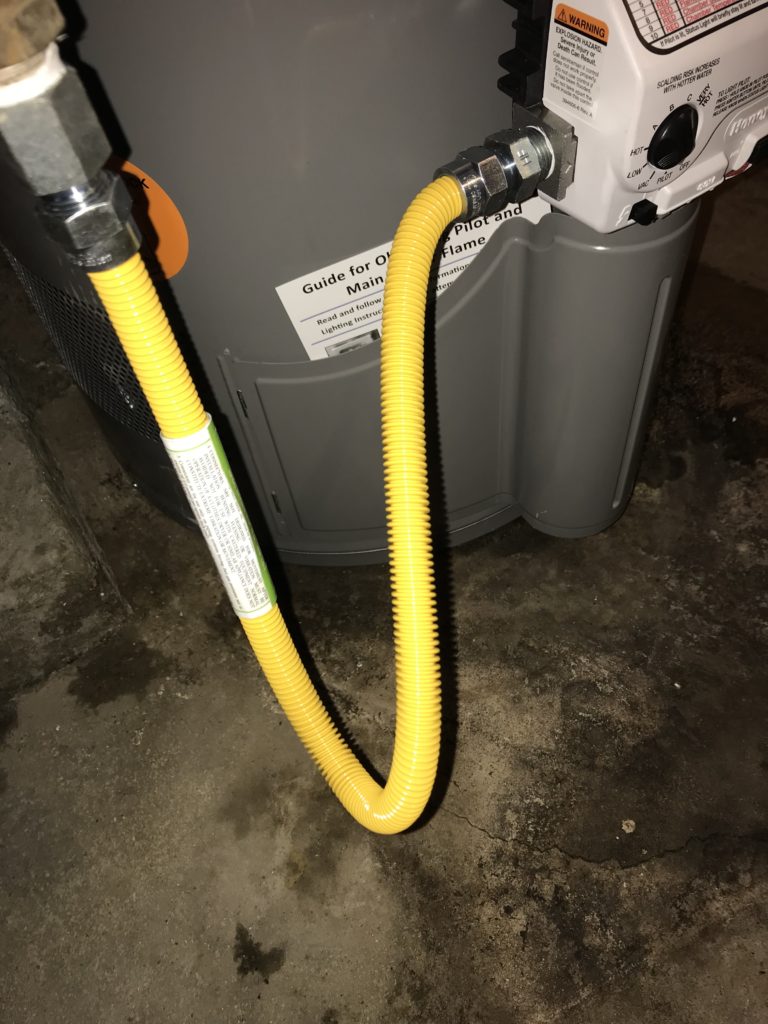
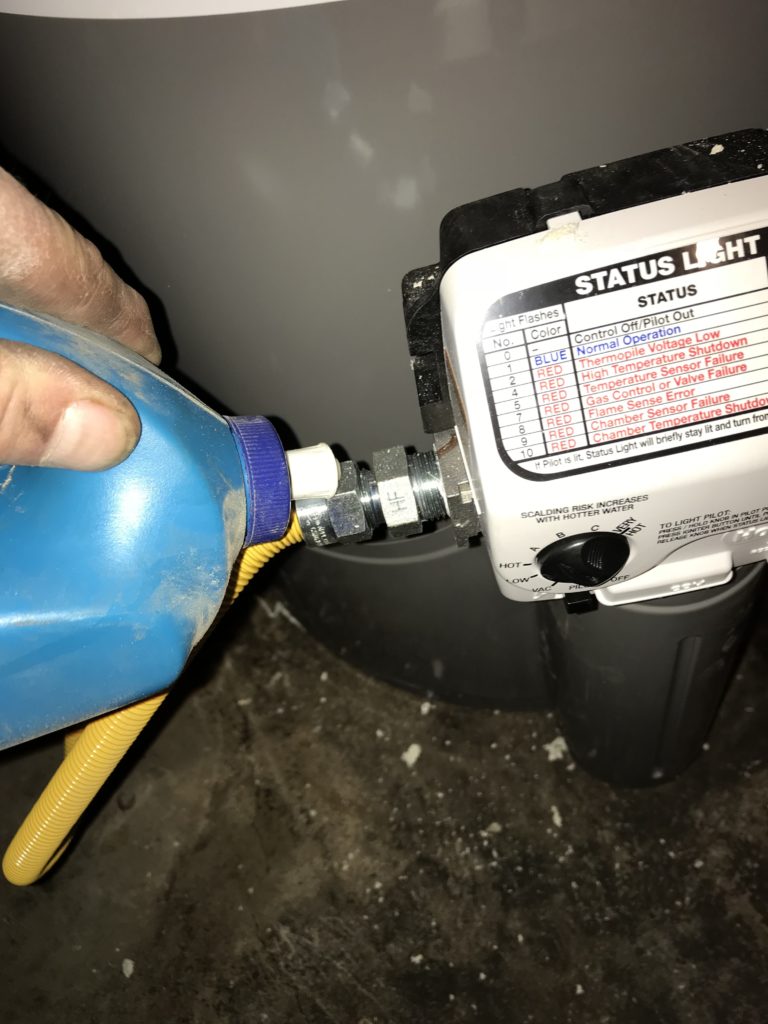
Notice all the corrosion buildup, it is a good idea to install all new supply lines when replacing a water heater. I also replace the gas supply line with the new installation.
A quick review;
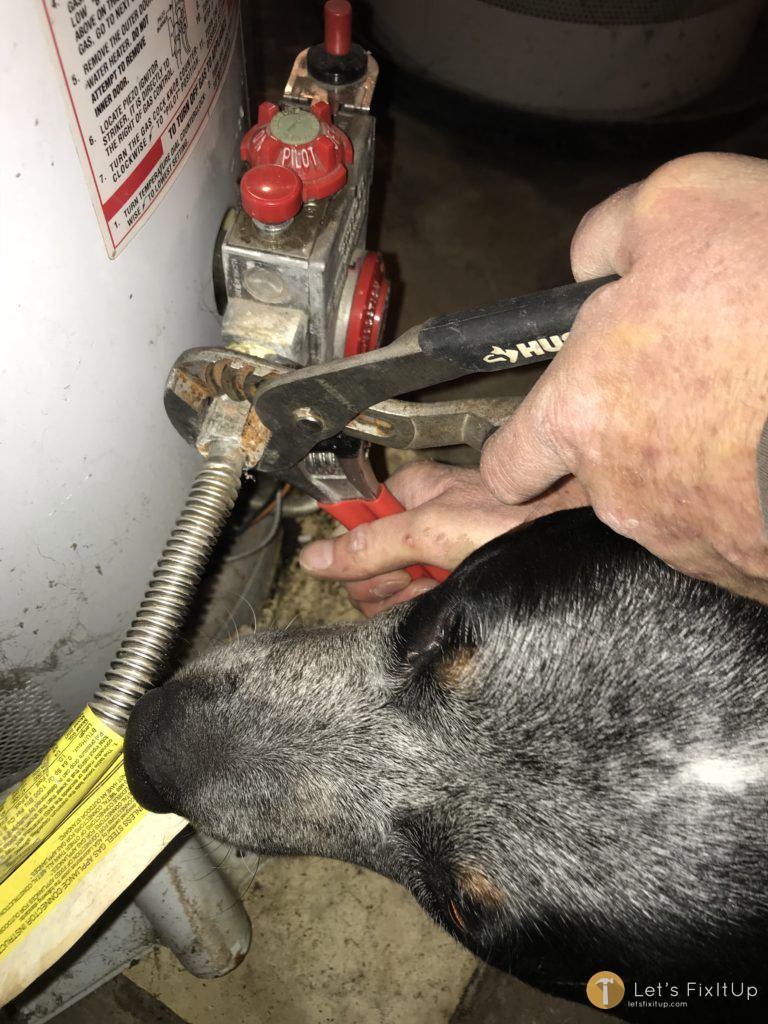
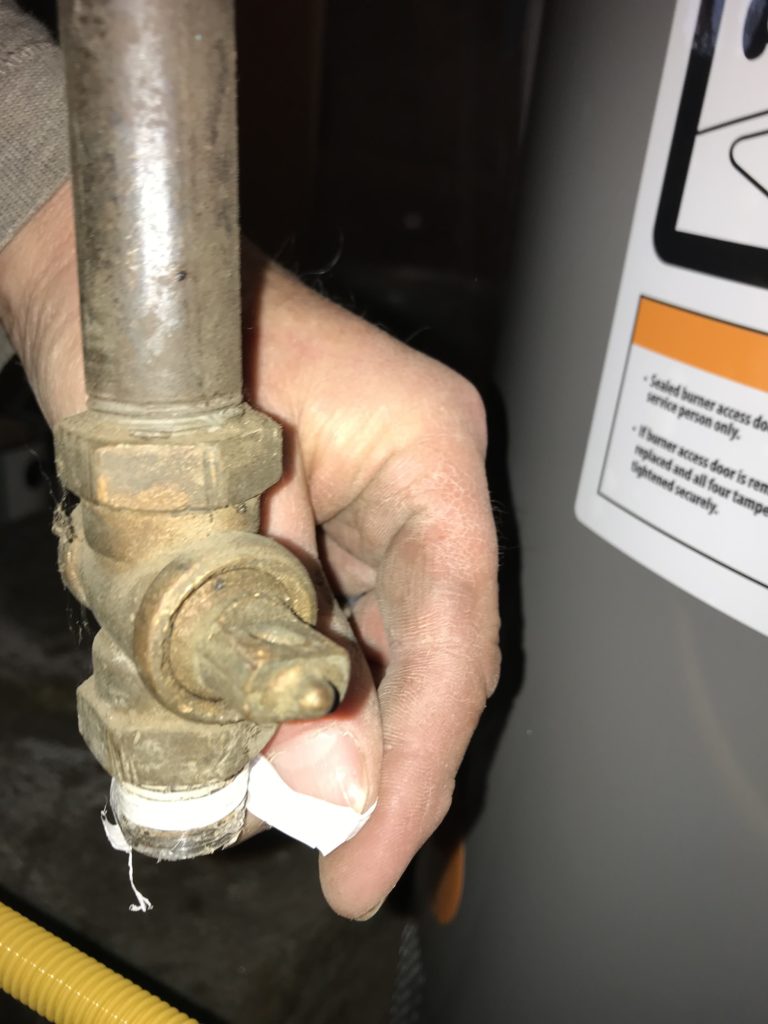
- Turn off the gas at the supply line valve.
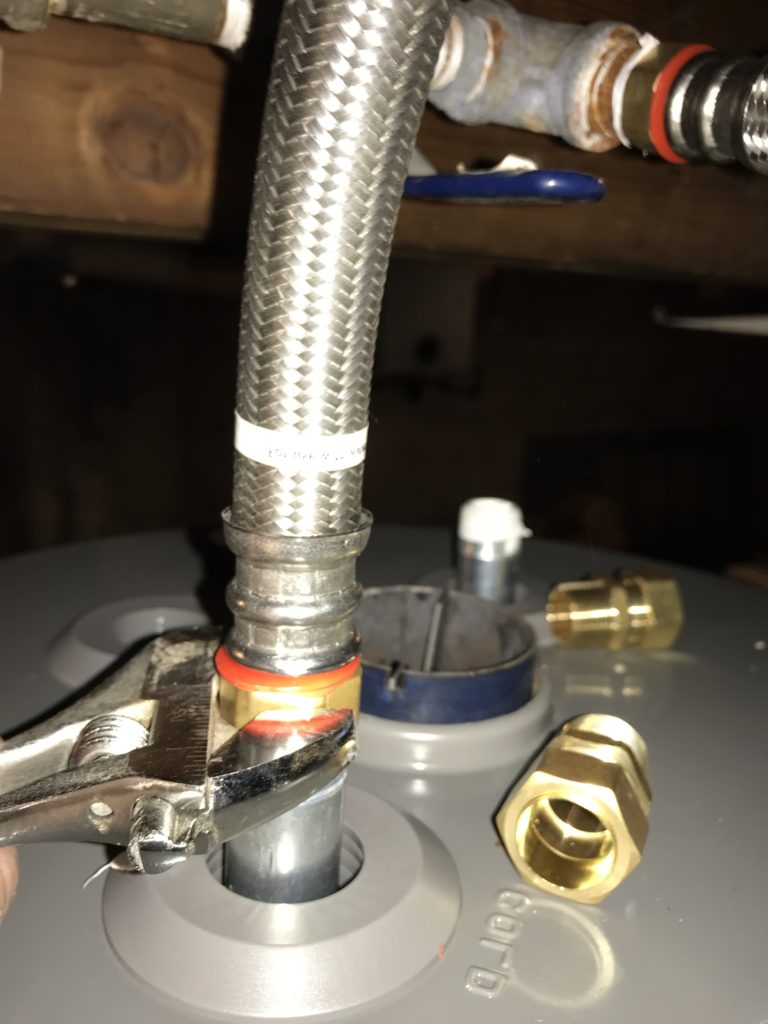
- Turn off the water supply line valve.
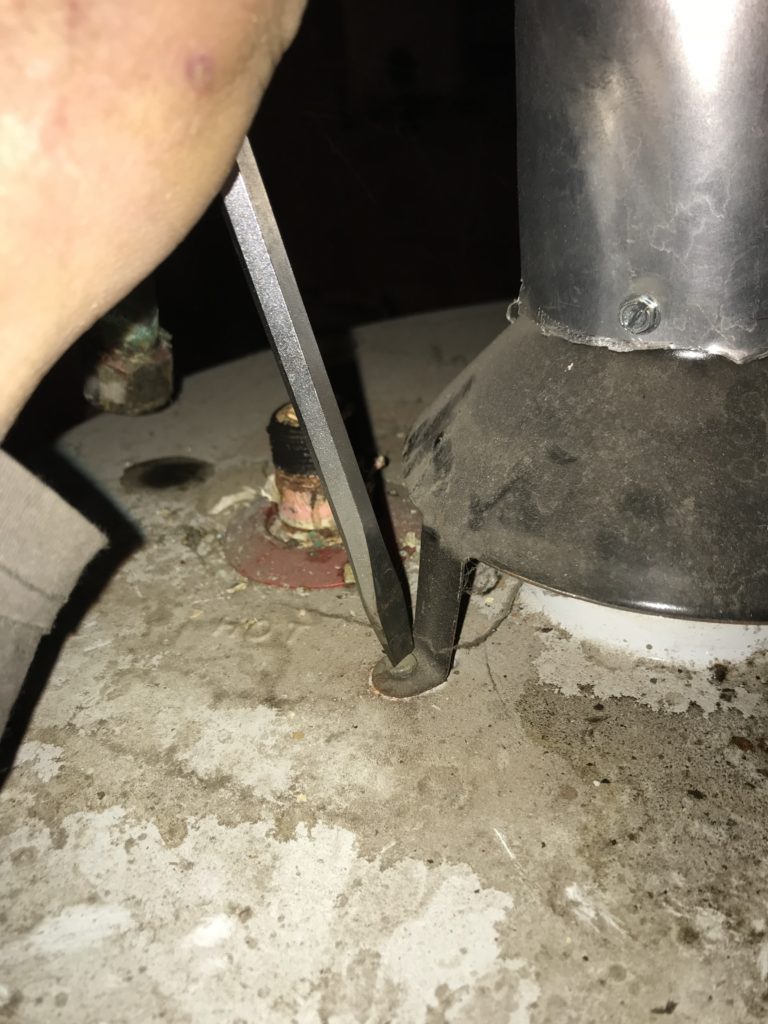
- Loosen the water drain valve at the bottom of the water heater.
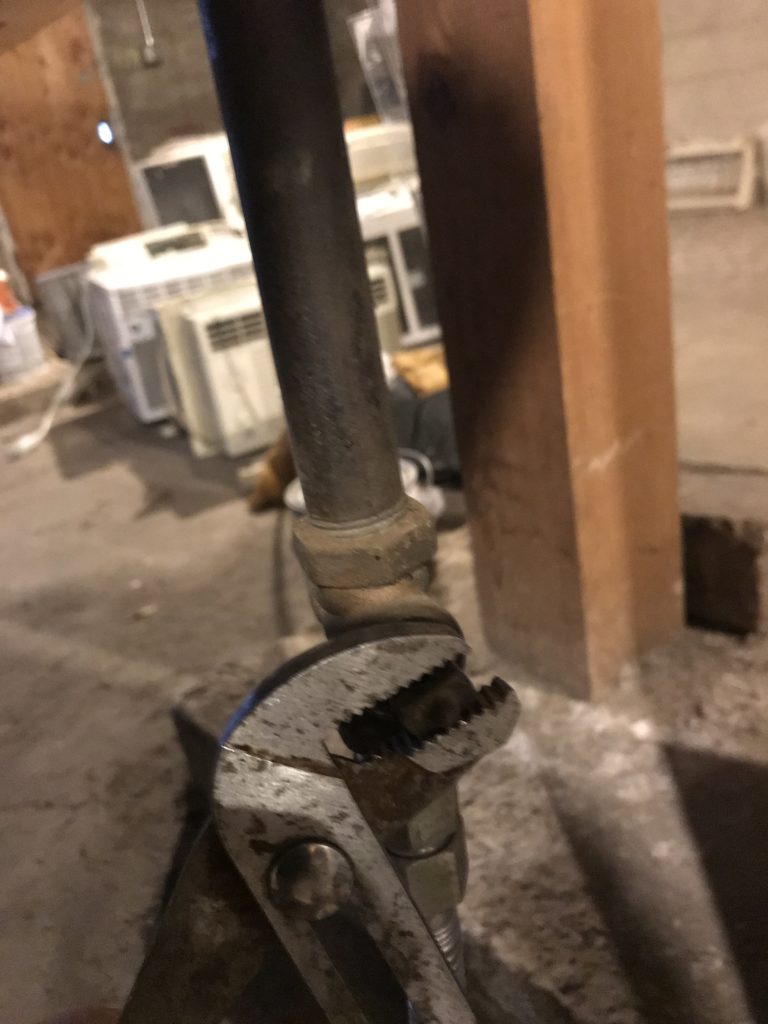
- Remove the gas supply line at the water heater.
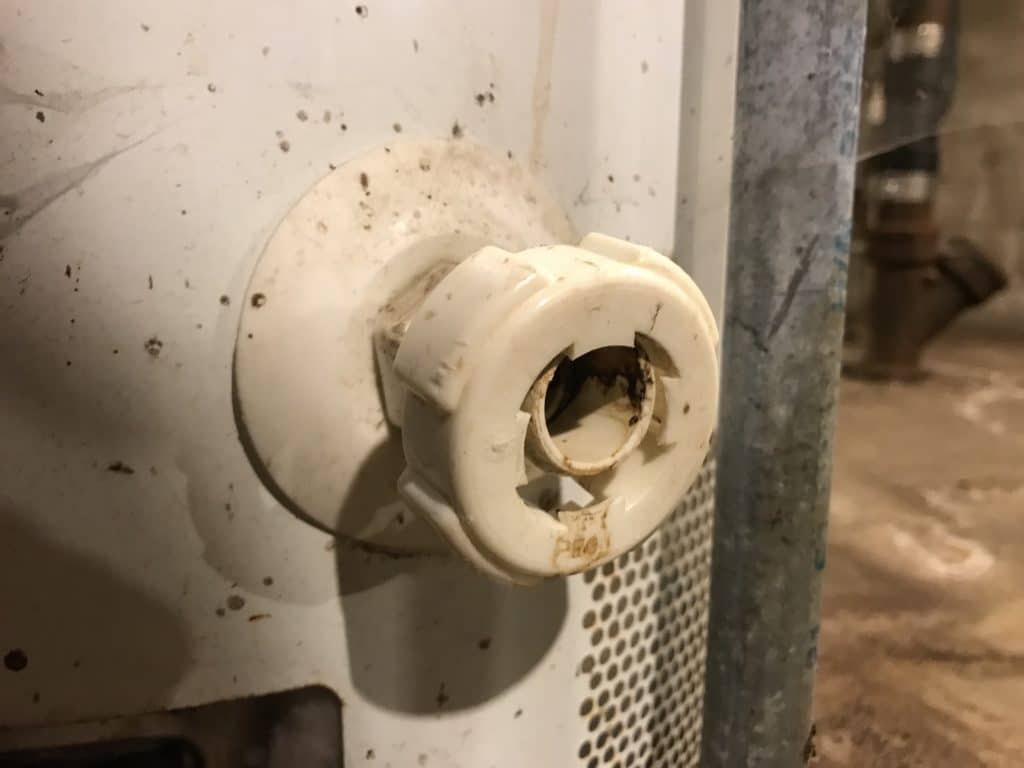
- Remove the 2 water lines at the top of the water heater.
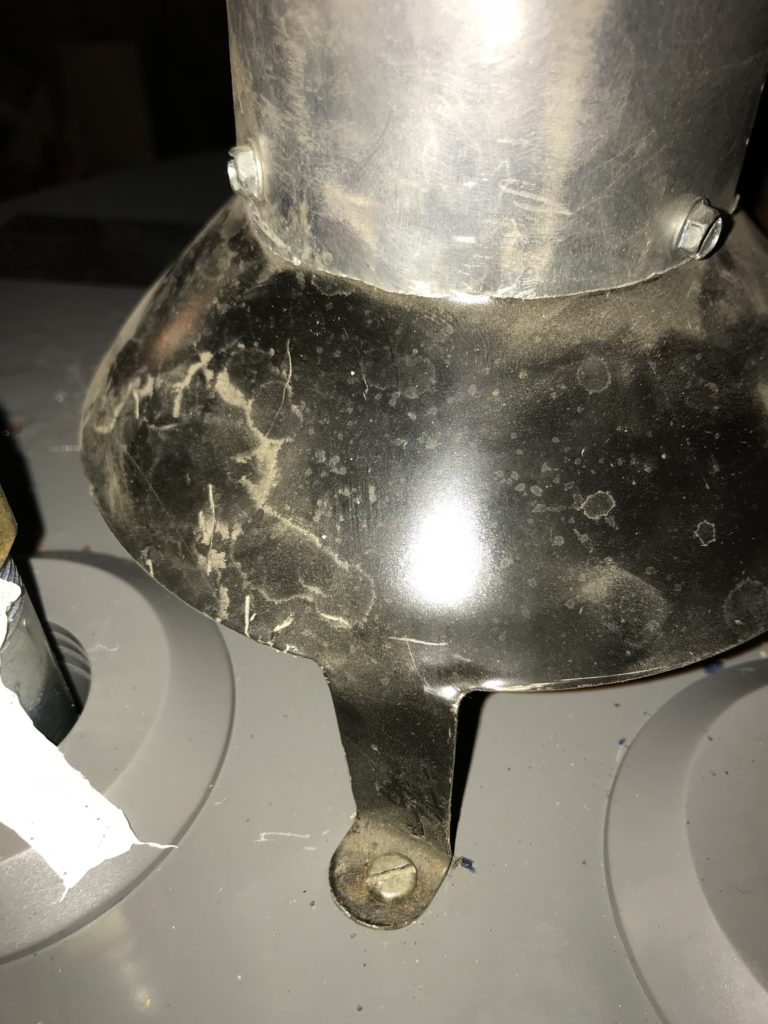
- Remove the venting at the top of the water heater.
The water heater is now disconnected and may be removed from its position. Tip the water heater over on its side to drain all water out if the area permits it, (floor drain). Have a Hand Truck and a buddy help you to remove the water heater and to move the new water heater into position.
Purchase a Hand Truck or Dolly Here on Amazon (Link To Amazon Hand Trucks)
Hooking Up The New Water Heater
We need to make sure that the water heater we purchase is going to fit the area in which the installation will occur. Using the tape measure, measure the height of the old water heater. It needs to be close enough in height to ensure it will not only fit the space but also hook into the existing gas and water lines. As mentioned earlier, I always replace the old connection hoses, just make sure you purchase a length that will easily make the new connection. Check the old water heater for gallon capacity, and measure the circumference of the tank to ensure the new one will fit the installation location.
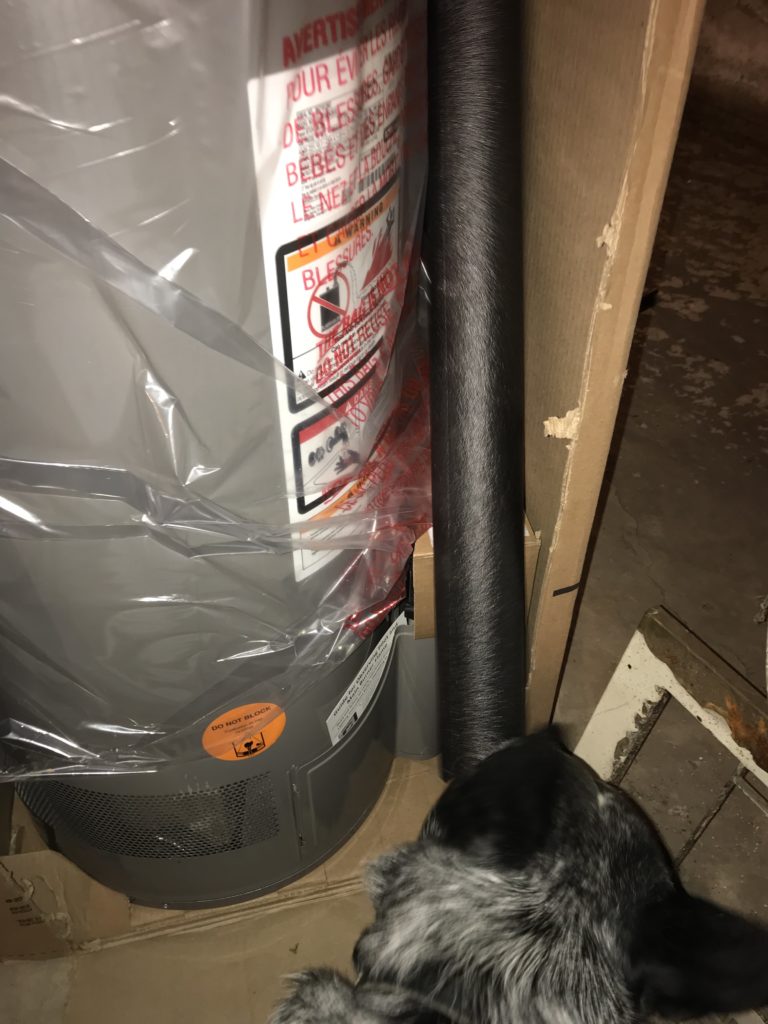
Installing the new Water Heater is essentially as easy as removing the old one…just everything in reverse.
Turn the main water valve on and begin to fill the new water heater, check for leaks in all your connections as the tank fills. Turn the gas valve to the on position.
Adjust the temperature setting on the Water Heater control knob for your desired water temperature. Make sure that the temperature is not set so high that it is scalding as it comes out of the faucet, this can cause serious burns. My preferred setting is at a medium high level, choose your own preference but choose it carefully and wisely.

Steve is a skilled craftsman & DIY expert – with years of general contracting and real estate development experience, Steve founded LetsFixItUp.com as an authoritative resource for home renovation, design and DIY projects.